Onboarding Checklist Explained
How the "Get your ISP online" checklist works: what each of the four steps really requires, live progress tracking, the setup bar, and how to dismiss or restore it.
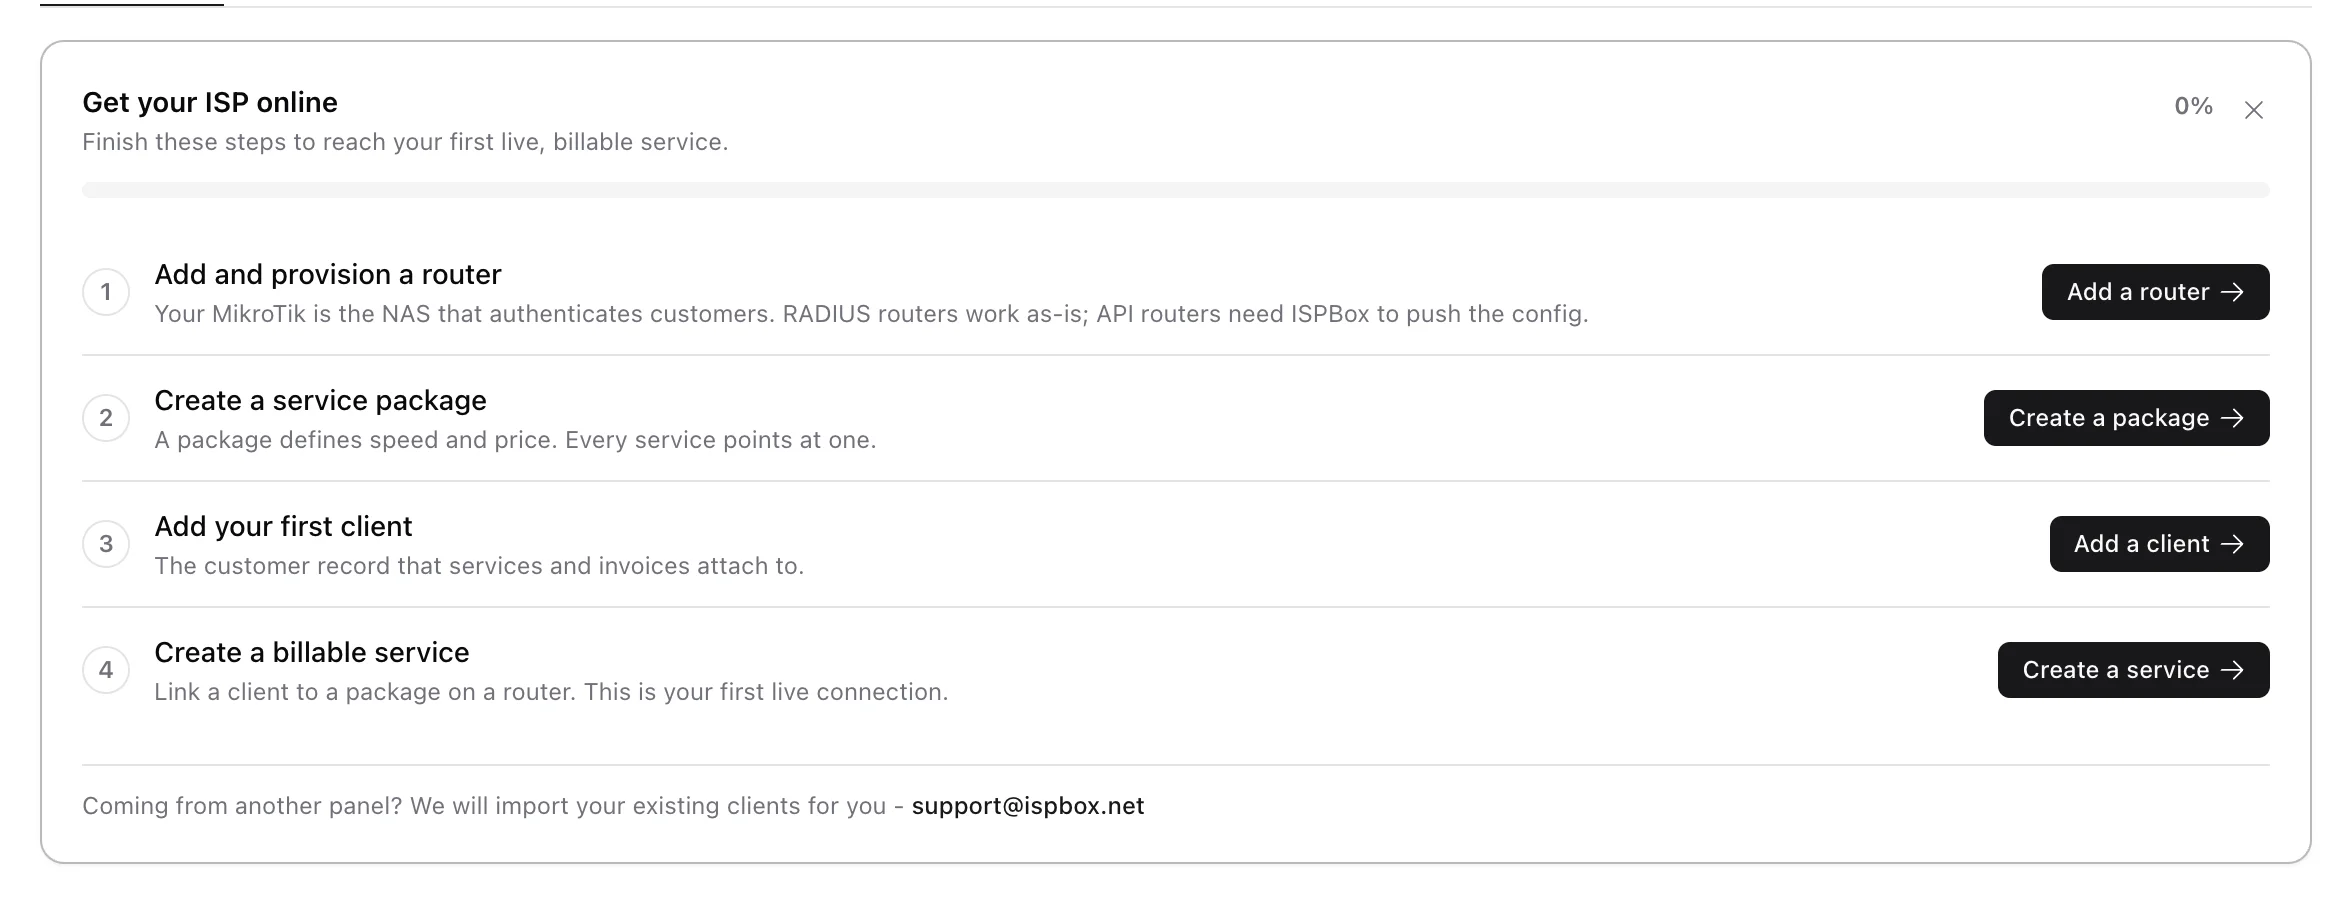
Every new ISPBox workspace starts with the "Get your ISP online" checklist. It is a 4-step guide that takes you from an empty panel to your first live, billable service - and it tracks your real progress automatically. This article explains what each step actually requires, how the progress is computed, and how to hide or restore the checklist.
1. Where you will see it
The checklist follows you around the panel in three ways:
- Dashboard card - the full checklist with step descriptions, progress bar and action buttons (pictured above).
- The "ISP setup" bar - a slim bar at the top of every other page. It shows your progress (for example 0/4) and a Continue button that always jumps to the next unfinished step.
- Contextual empty states - empty lists (clients, routers, packages, services) show the matching checklist action, so you are never staring at a blank table wondering what to do.

Each step is also permission-aware: if your account lacks the permission for a step (for example a technician without billing access), the button is replaced with a note to ask an admin.
2. Step 1 - Add and provision a router
Your MikroTik is the NAS that authenticates customers. This step is complete when the router is not just added, but actually ready to serve clients:
- API routers (WireGuard or direct IP with RouterOS API) must finish the guided first configuration - ISPBox pushes bridge, pools, DHCP or PPPoE config to the device. Until then the step shows a "Needs provisioning" badge and the button changes to Finish provisioning.
- RADIUS routers work as-is - nothing is pushed to the MikroTik. But services still need an IP pool to assign addresses from, so the step stays open with a "Needs network pools" badge until the router has the right pool: a PPPoE pool for PPPoE access, a Clients pool for DHCP.
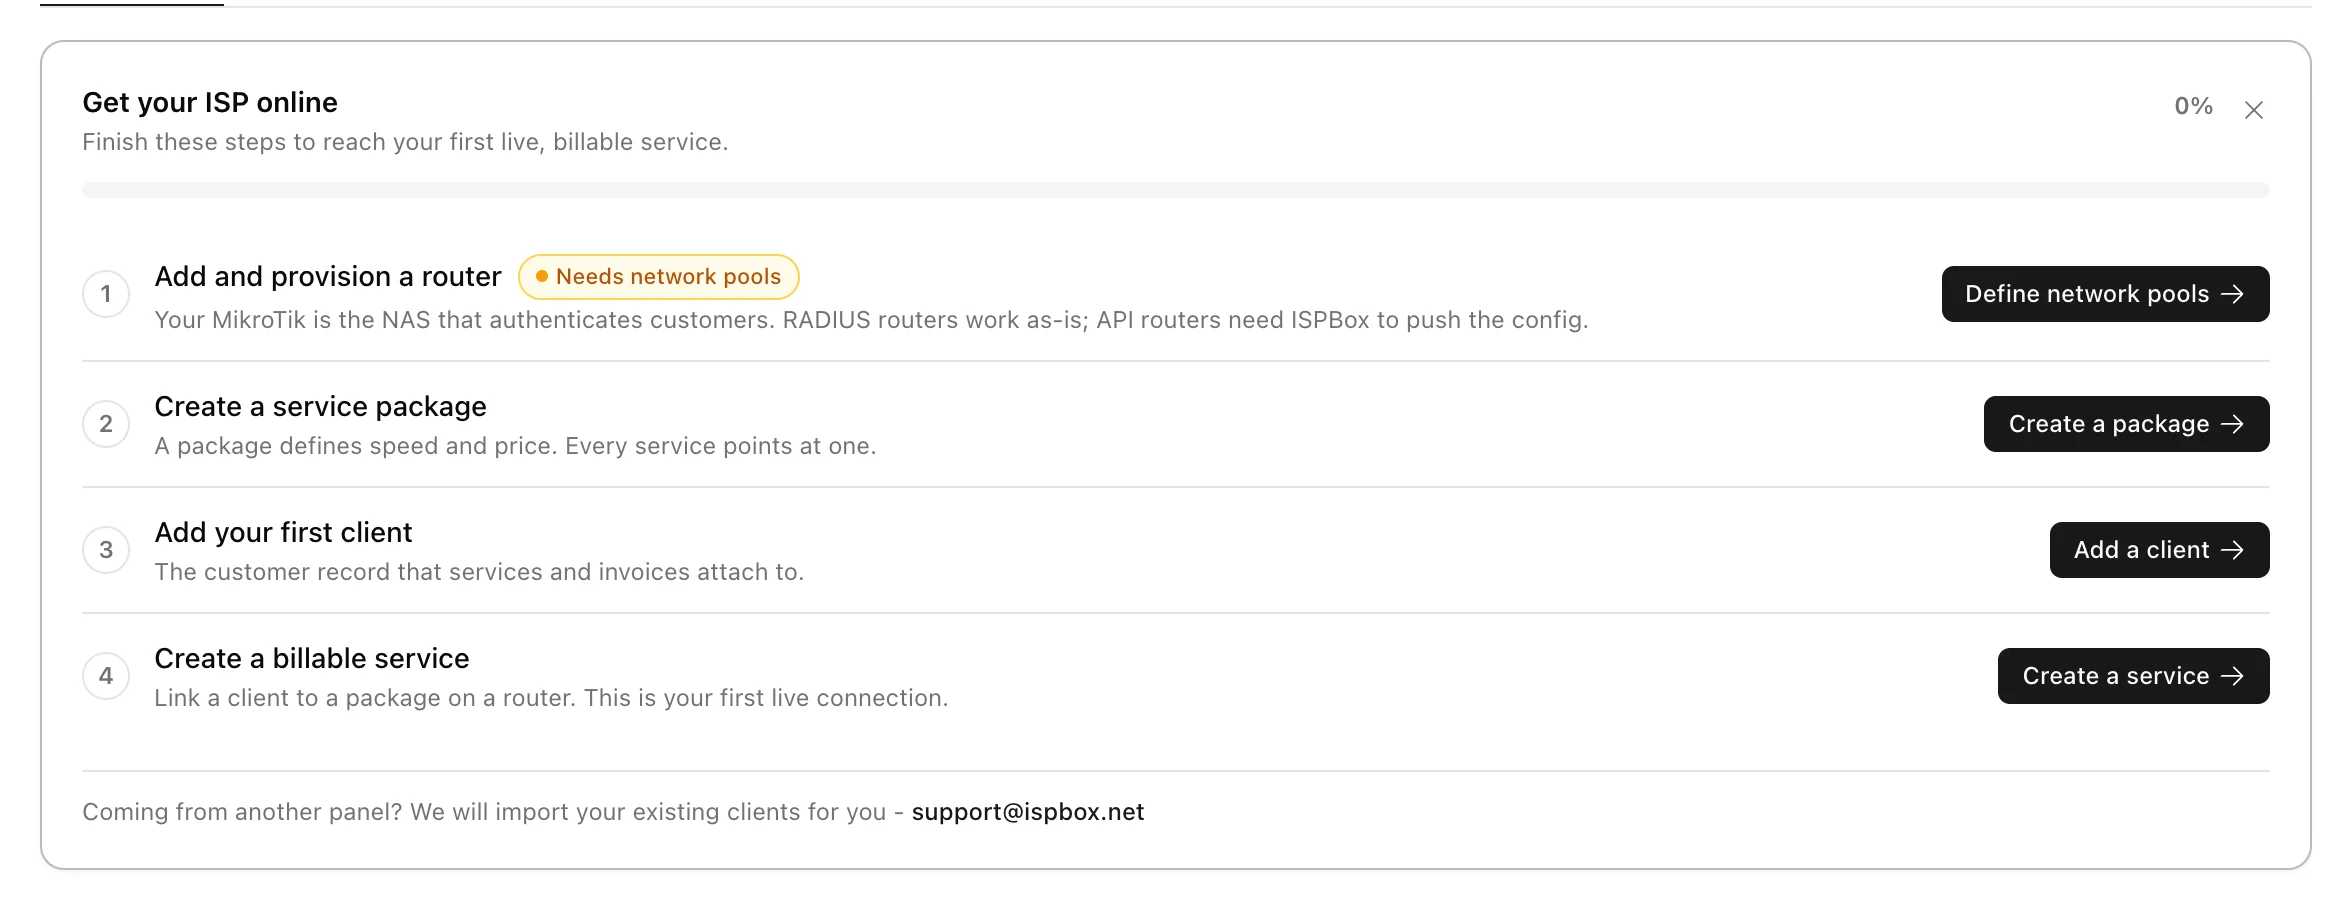
This is deliberate: a half-configured router would let you continue and then dead-end at "this router has no pools configured" when adding a service. Router guides: WireGuard + API and RADIUS authentication.
3. Step 2 - Create a service package
A package defines the speed and price every service points at. Any package counts - create your own or click one of the one-click starter templates (Residential 50/10, Residential 100/20, Business 200/50) on the empty Packages page and edit the speeds and price afterwards.
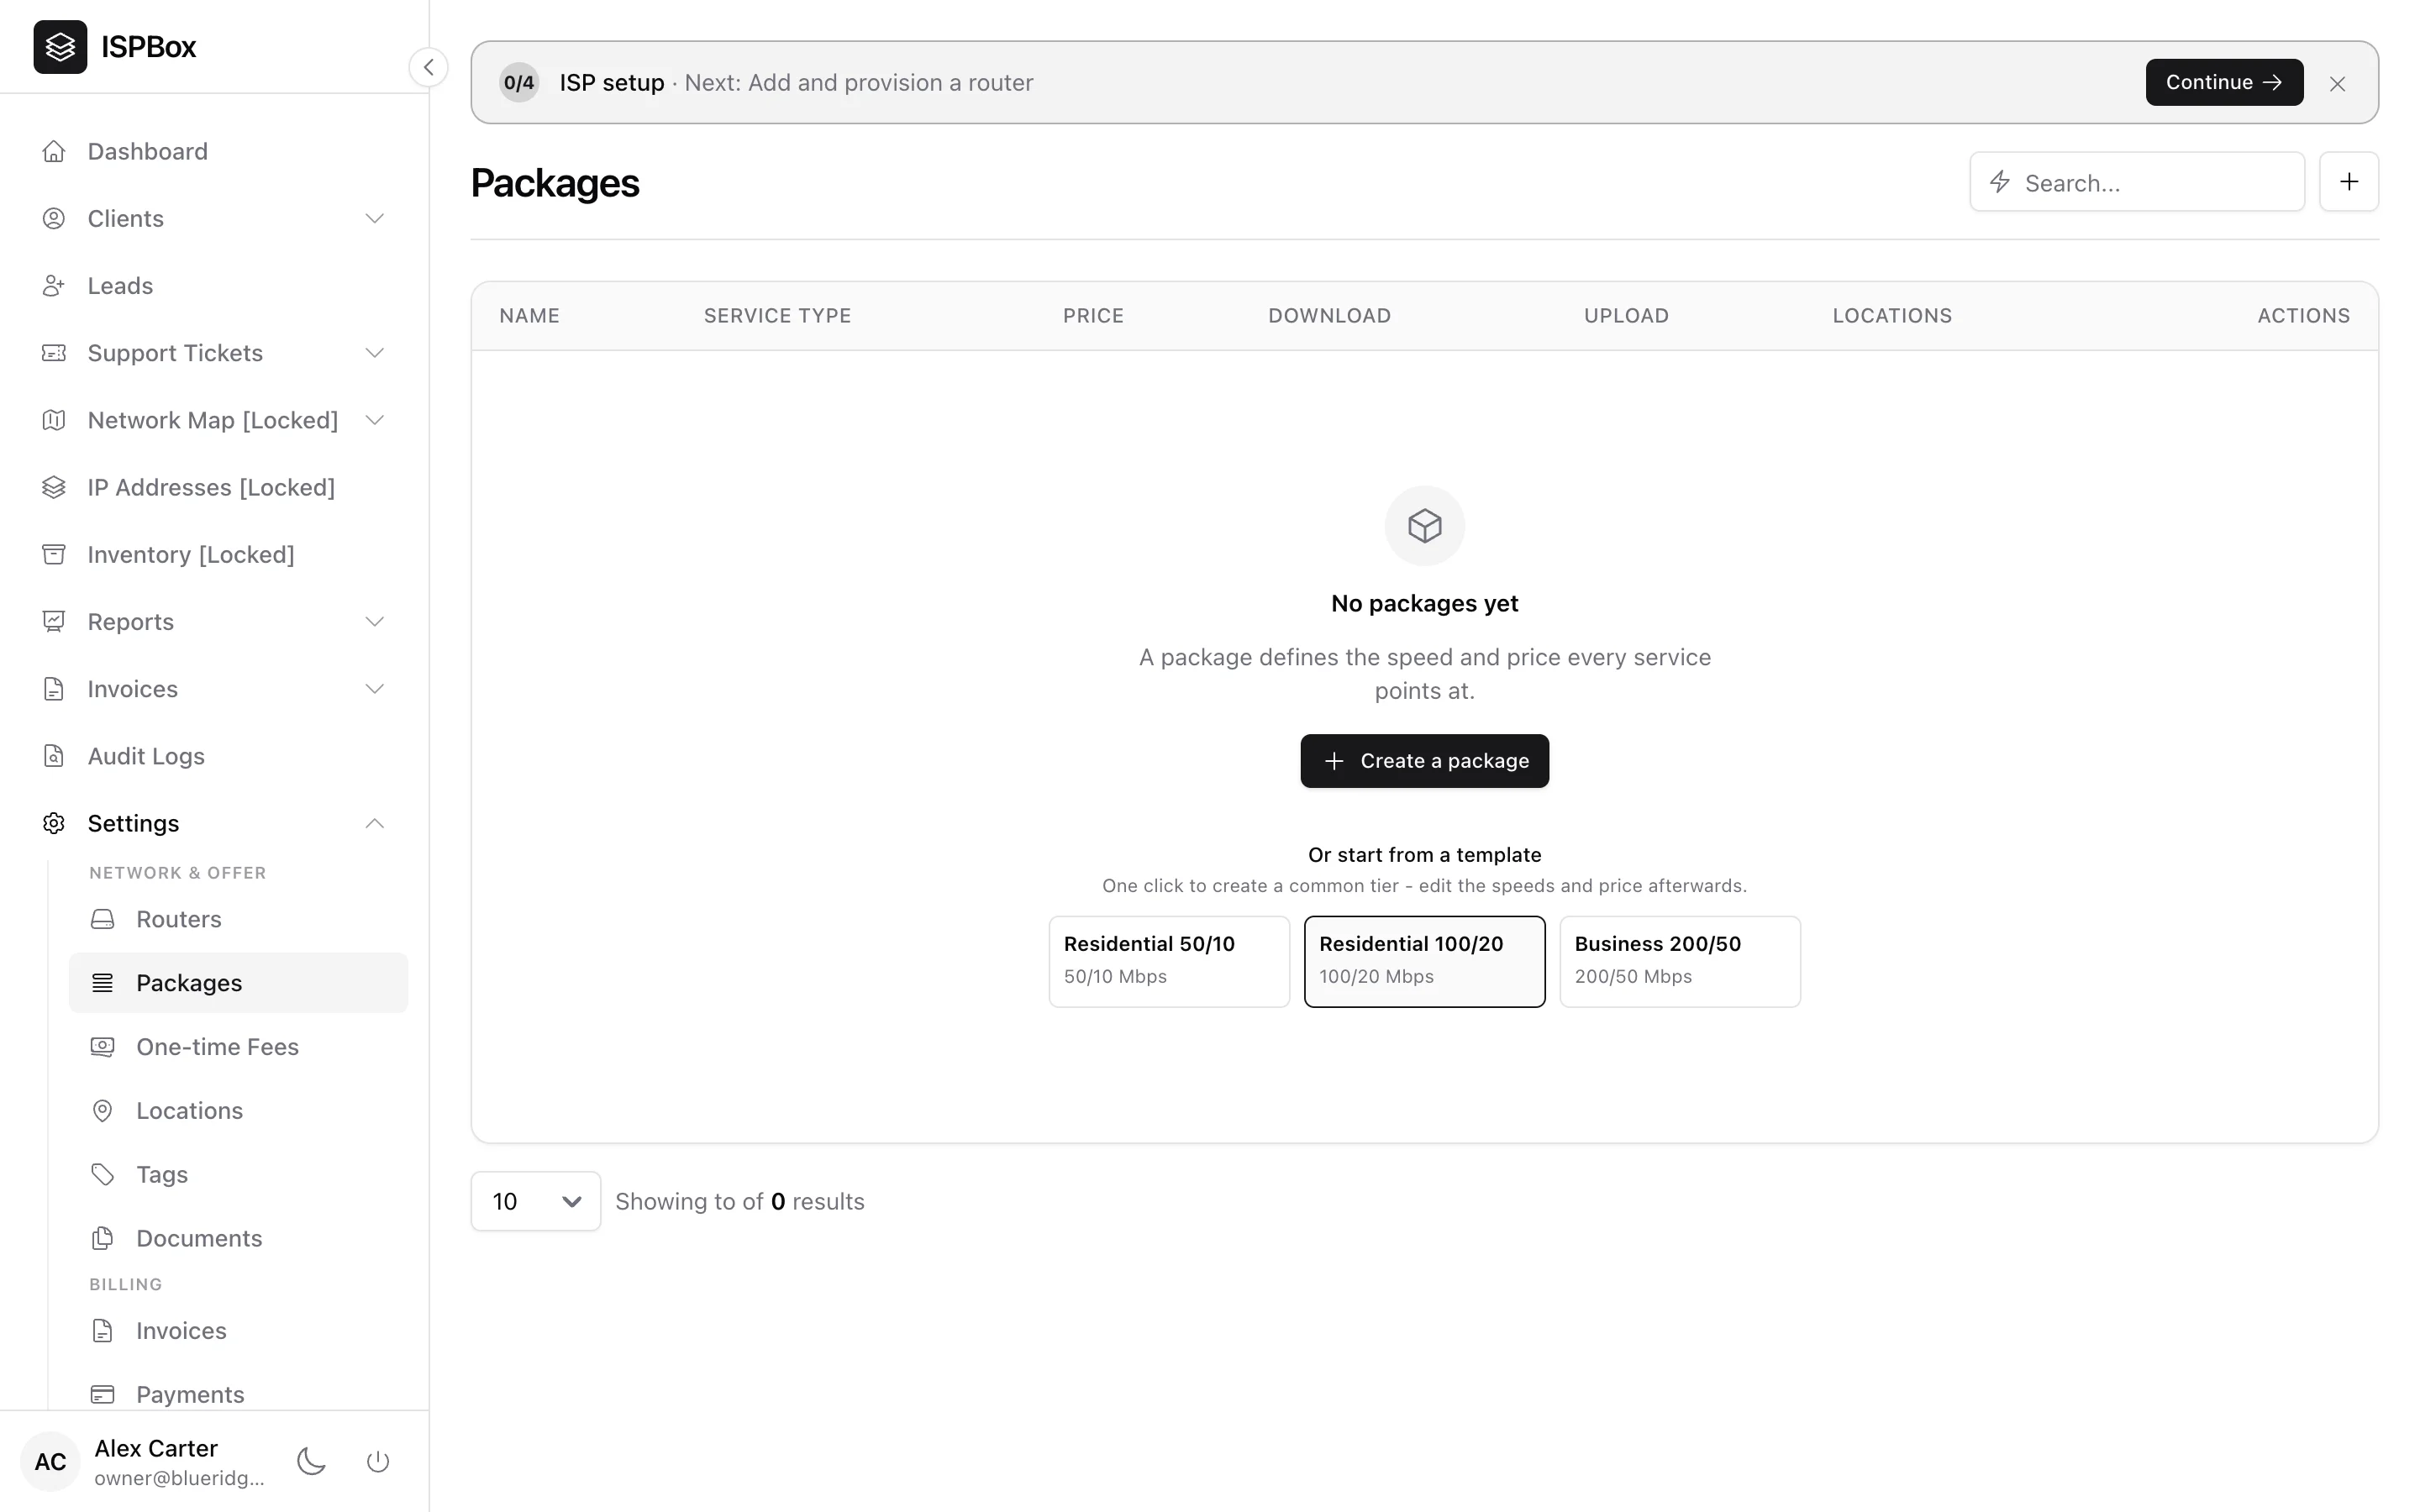
Full guide: How to add the package.
4. Step 3 - Add your first client
The customer record that services and invoices attach to. Name is enough to get started - address, contact details and portal access can come later. Full guide: How to add a new client.
5. Step 4 - Create a billable service
The finish line: link the client to a package on a router. This creates the RADIUS credentials, assigns an IP from the router's pool, and becomes your first live connection - the thing invoices are generated from. Full guide: Add a service.
6. Progress is computed live - no manual ticking
There are no checkboxes to tick. ISPBox derives each step's state from your actual data every time the checklist renders, so it can never show a false 100%:
- Steps complete in any order - add a client before the router if you like.
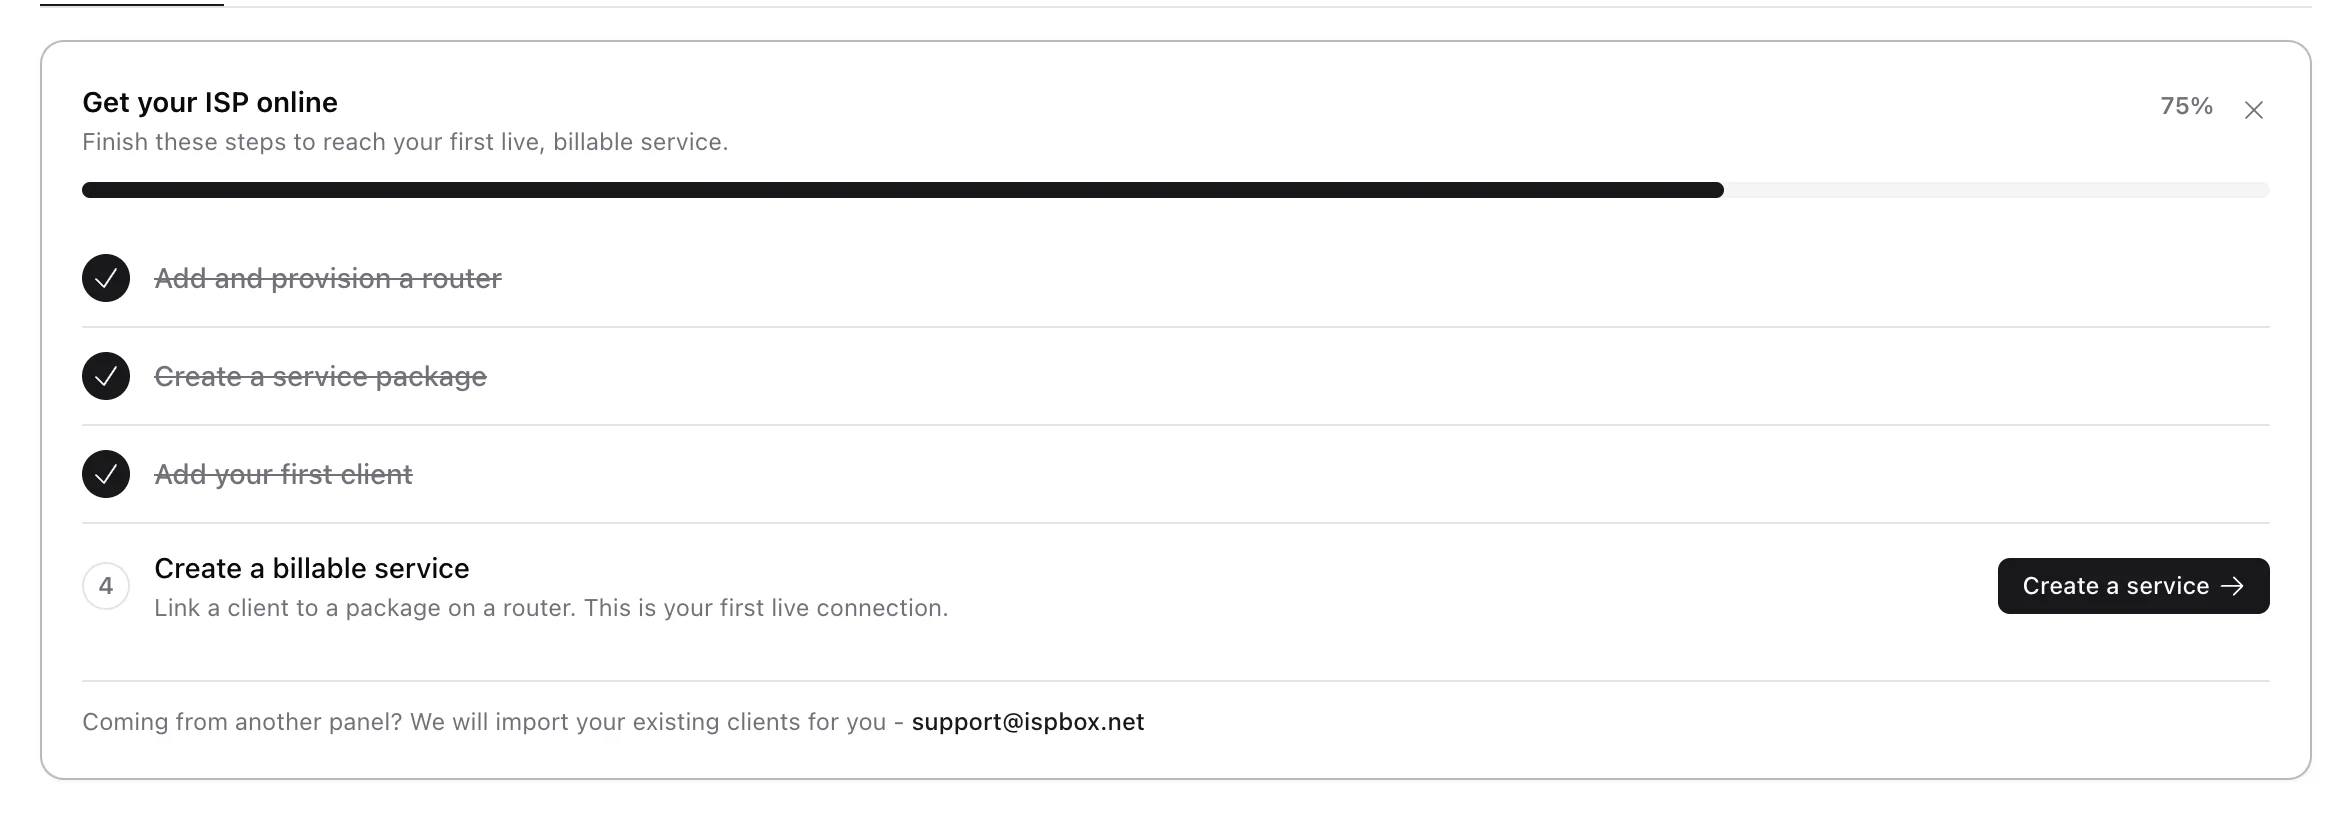
- Completed steps collapse to a strikethrough line; the progress bar and percentage update instantly.
- If something regresses (for example you delete your only package), the step simply reopens.
The setup bar mirrors the same state everywhere else in the panel:

7. Dismissing it - and bringing it back
Not a fan of checklists, or migrating a big existing base? Click the X on the dashboard card or the setup bar and it disappears everywhere for the whole workspace.
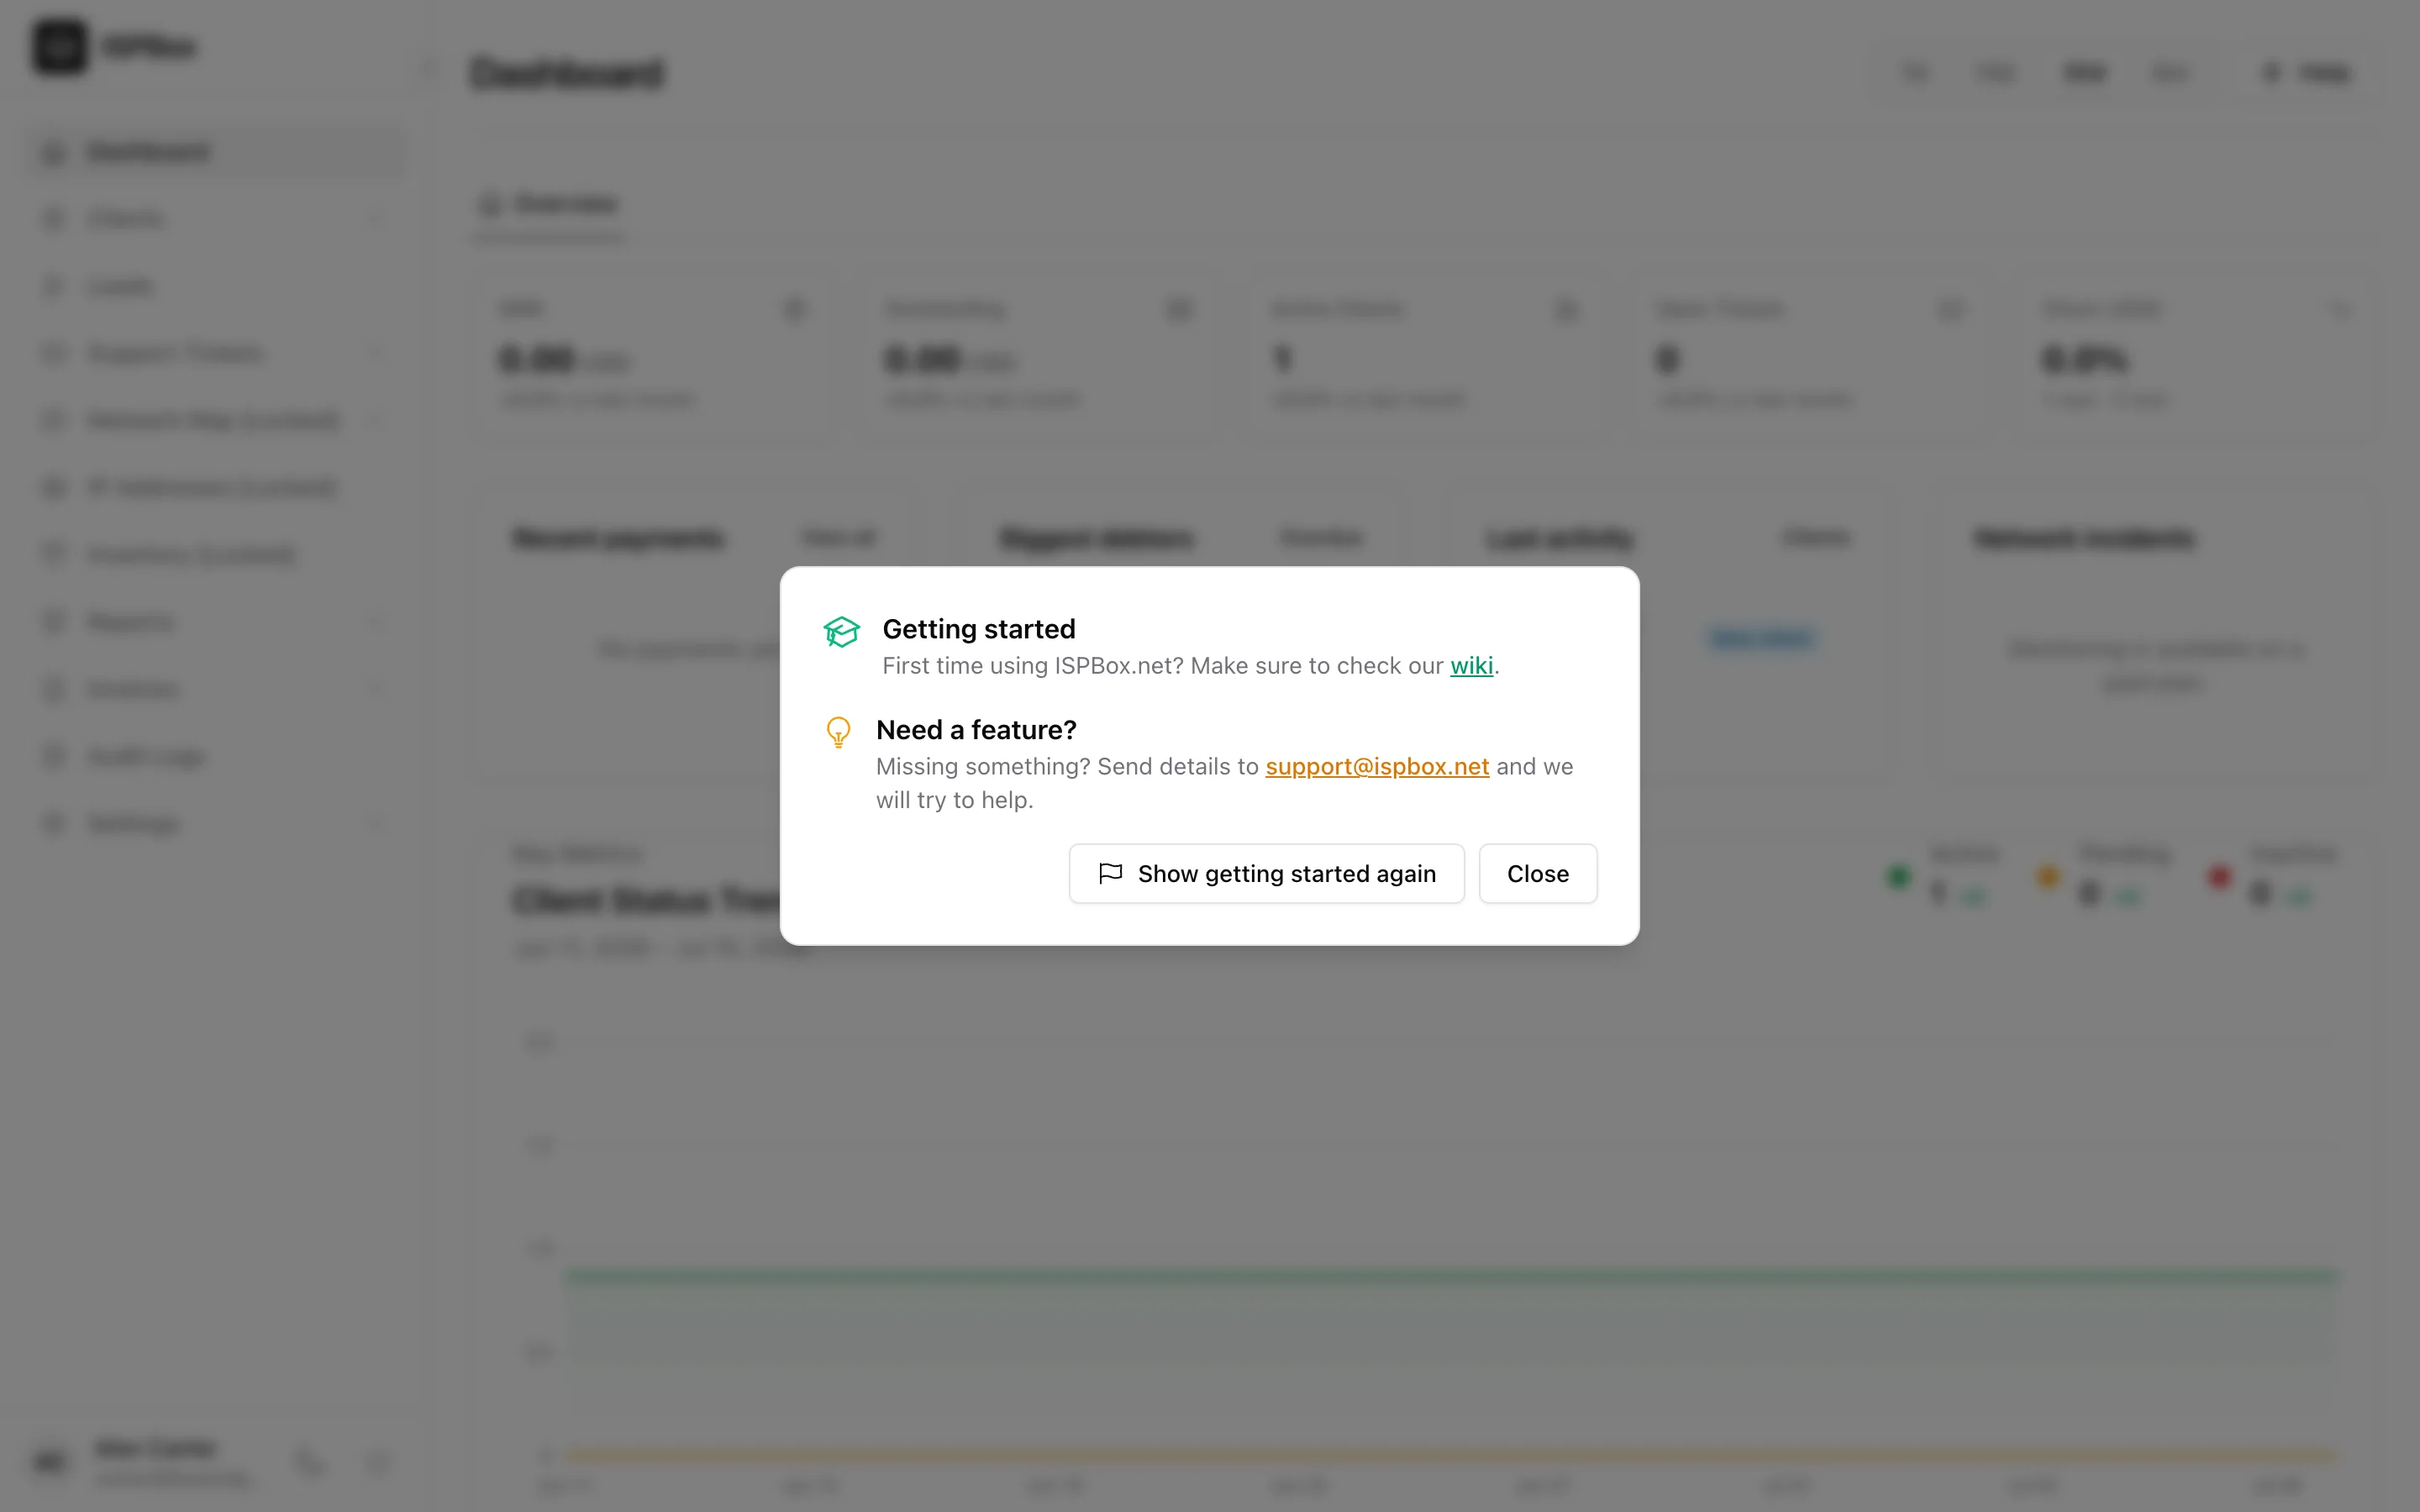
To bring it back, open Help (top right of the dashboard) and click Show getting started again:
8. When it disappears for good
The moment your first service exists, you are operating - so the checklist retires automatically and will not come back, even if that service is later removed. From then on, operational gaps are surfaced where you would look for them instead (for example a "Not provisioned" badge in the Routers list).
9. Coming from another panel?
If you already have clients in Splynx or UISP, skip the manual steps - ISPBox has importers for both, plus a lead CSV importer (Settings > Imports), and we will migrate your existing clients for you: write to [email protected].