The Setup Wizard: Your First 10 Minutes in ISPBox
First-run guide for ISPBox: registration, the setup wizard (company, subdomain, timezone), starting your plan on the 7-day free trial, and the onboarding checklist that takes you to your first live service.
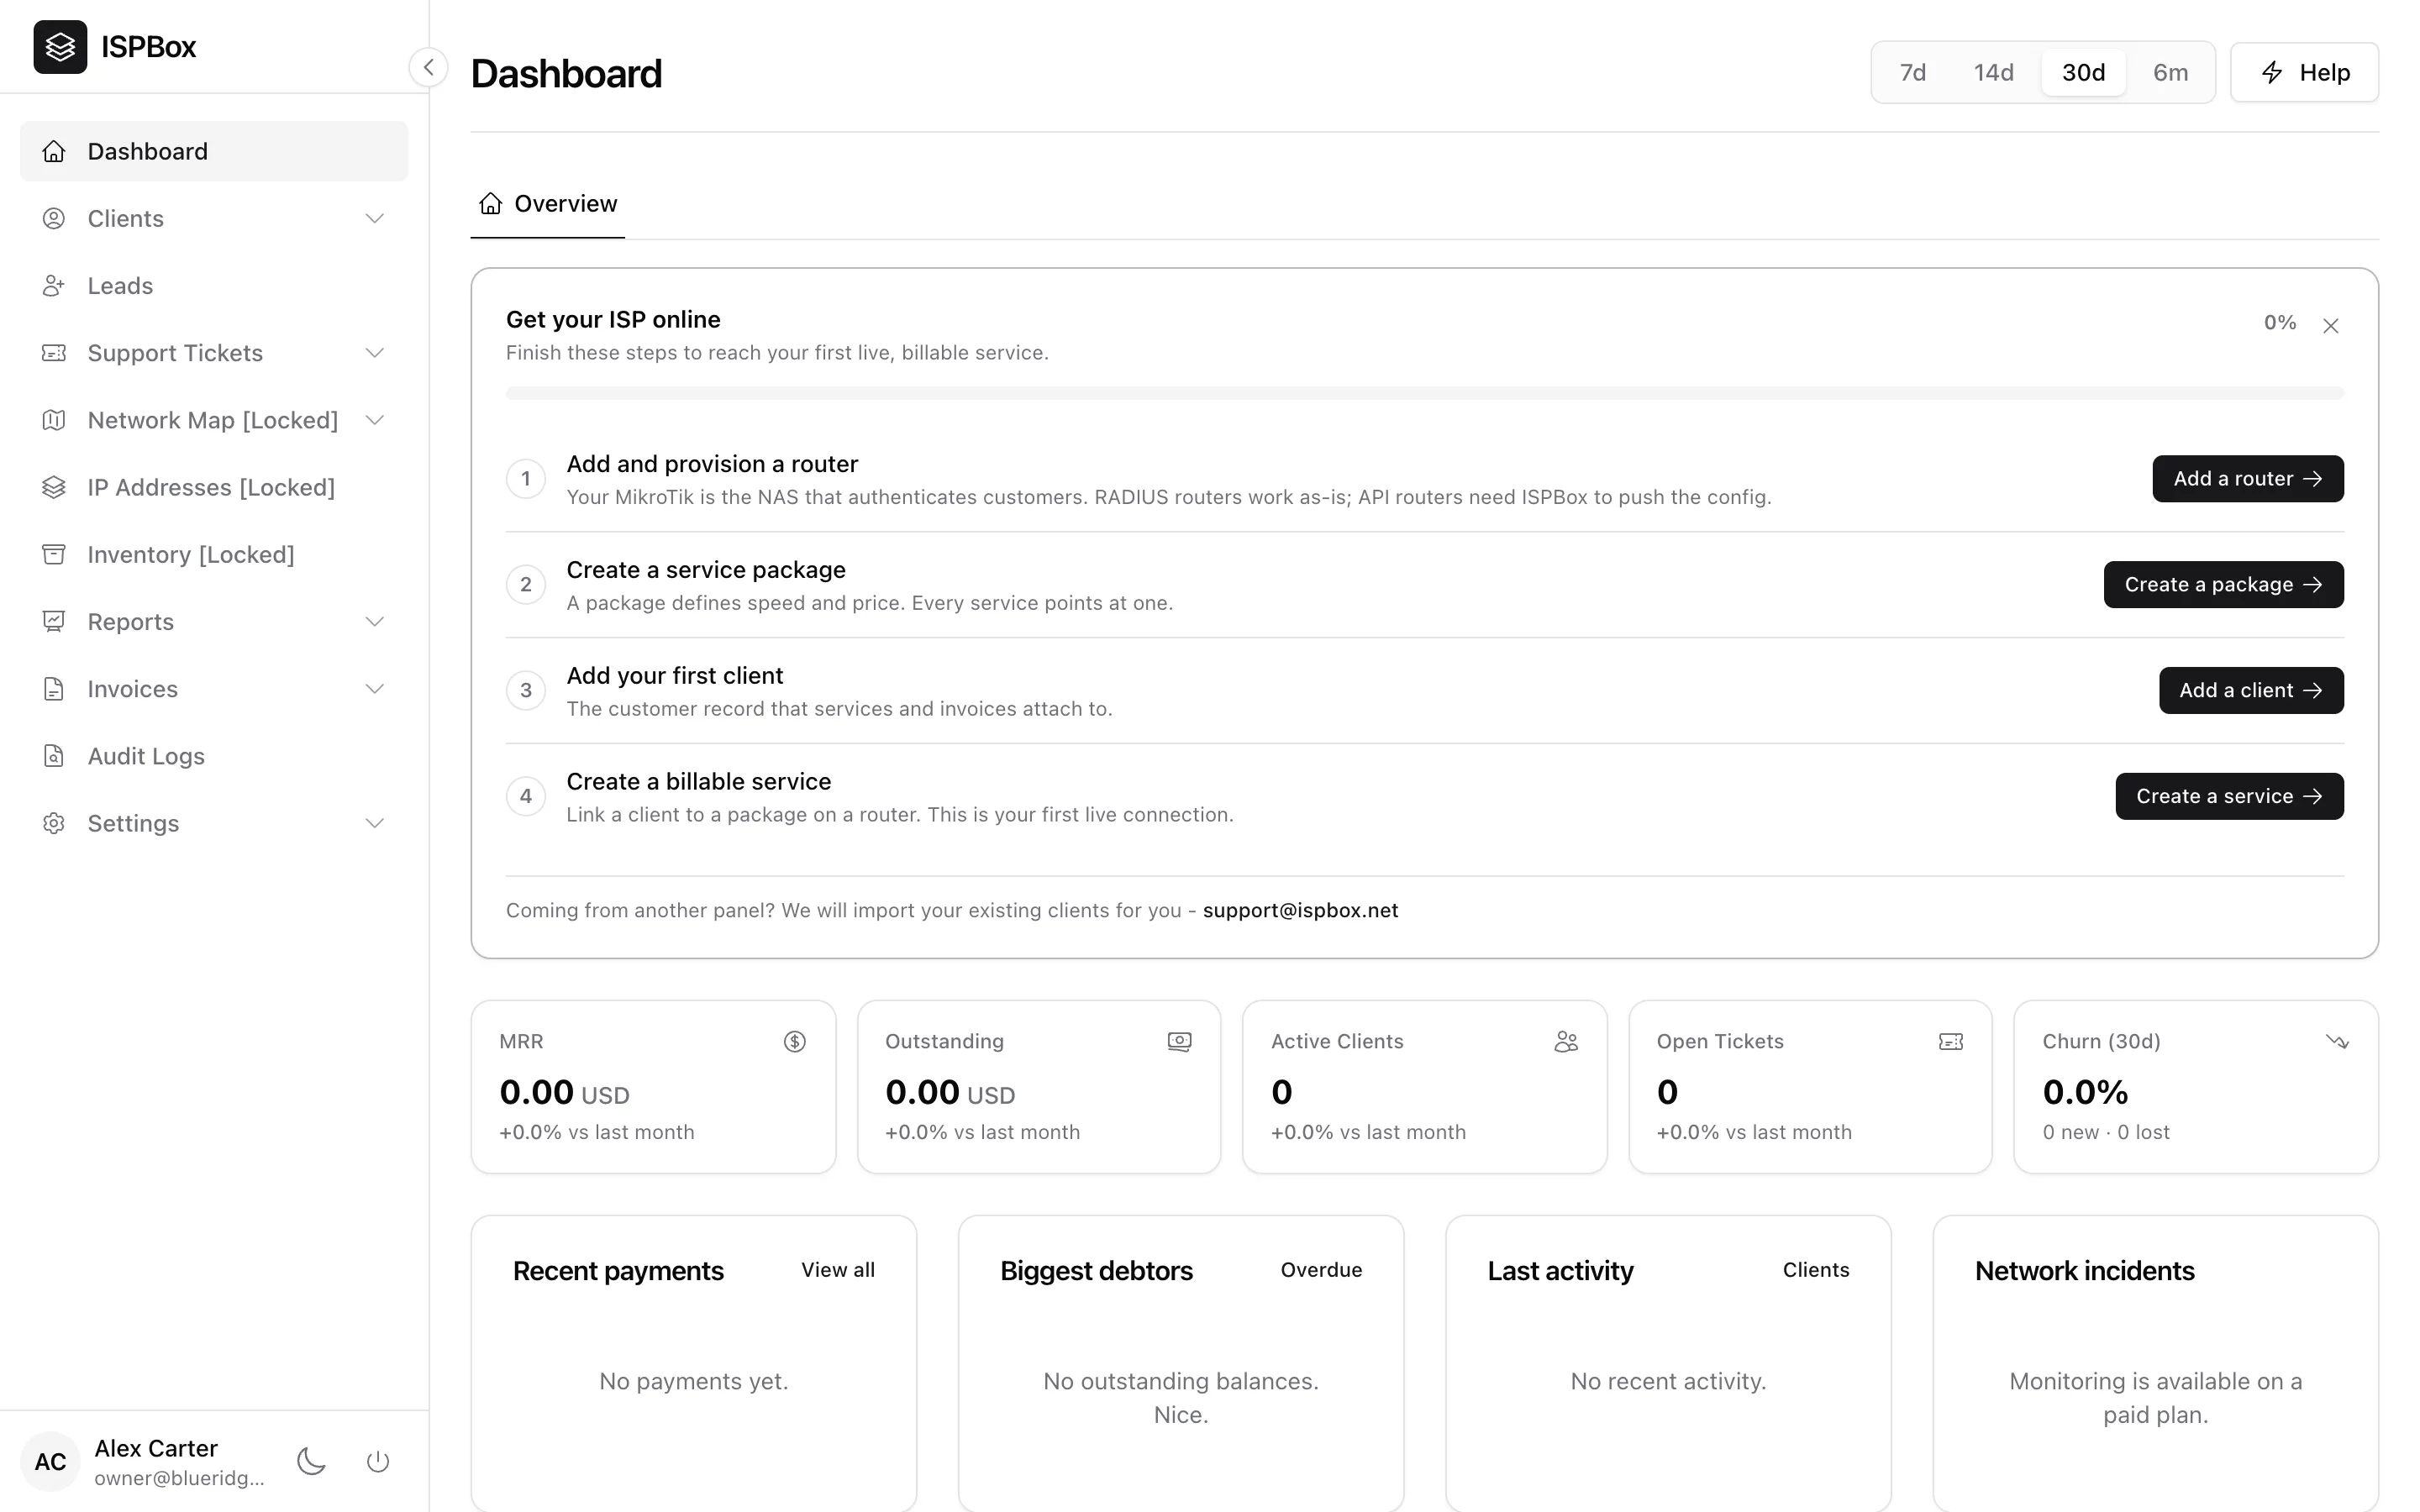
This guide walks you through your first 10 minutes in ISPBox: creating an account, setting up your company workspace, picking a plan, and landing on the dashboard with a clear checklist of what to do next. No technical preparation is needed - you only need an email address.
1. What the setup wizard does
The setup wizard runs once, right after you register. In a single short form it creates your entire company workspace:
- Your own panel address (subdomain), for example yourcompany.ispbox.net.
- Your company profile with the correct timezone for invoices and reports.
- Built-in staff roles (Admin, Staff, Technician) with sensible permissions - you are the Admin.
- A default location and the RADIUS NAS group your routers will use later.
After the wizard you pick a plan and you are inside the panel.
2. Step 1 - Create your account
Go to the registration page and fill in your name, email and password. This account is your personal staff login - the company itself is created in the next step.
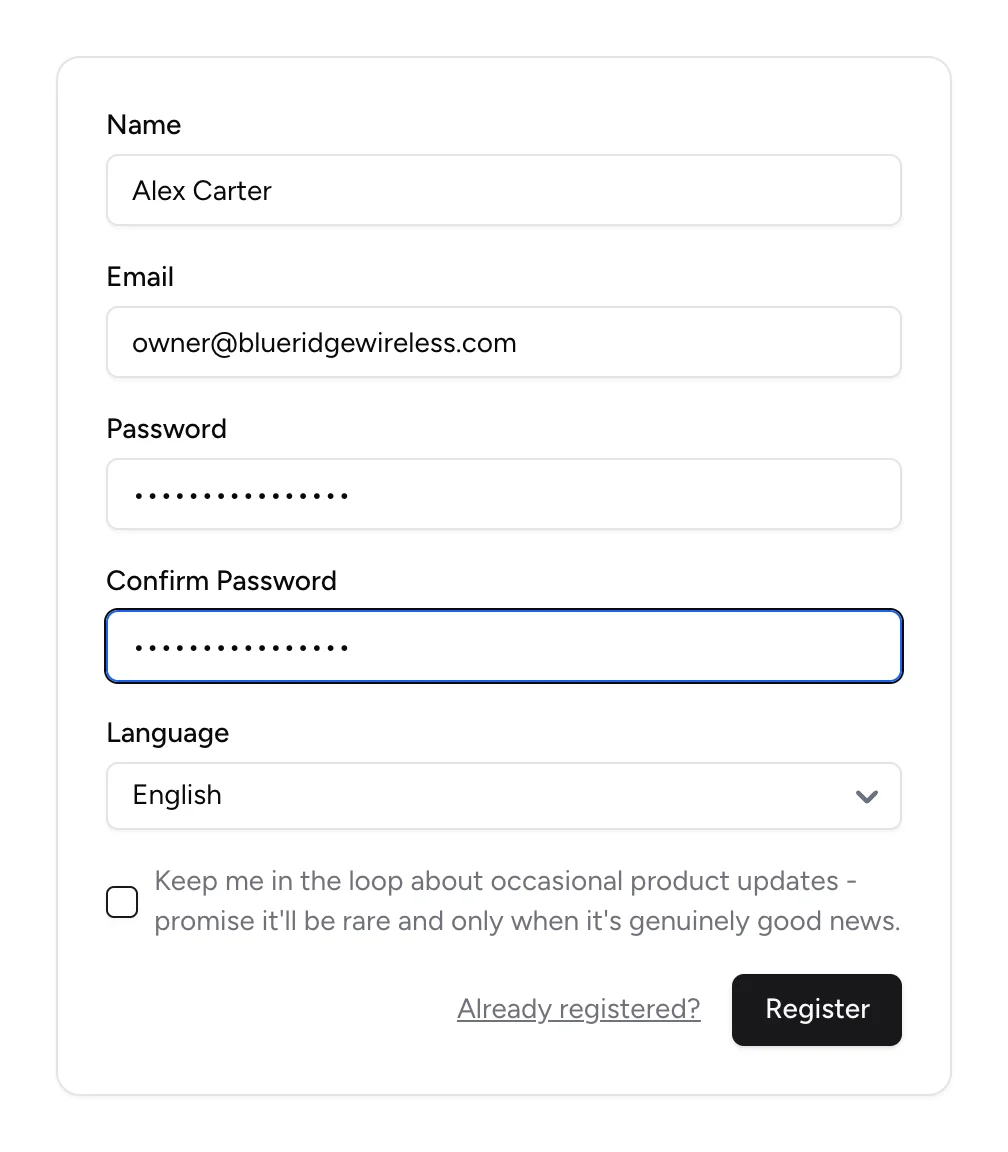
After you click Register you are taken straight to the setup wizard. A verification email is also sent to your inbox - confirm it when convenient.
3. Step 2 - Create your company workspace
The wizard asks for three things:
- Company Name - shown across the panel, on invoices and in emails to your clients. You can change it later in Settings.
- Subdomain - this becomes your panel address, for example blueridge.ispbox.net. Use 3-63 characters: letters, numbers and hyphens. Pick something short - you and your team will type it every day.
- Timezone - detected automatically from your browser. It controls invoice dates, billing runs and report ranges, and can be changed later in Settings.
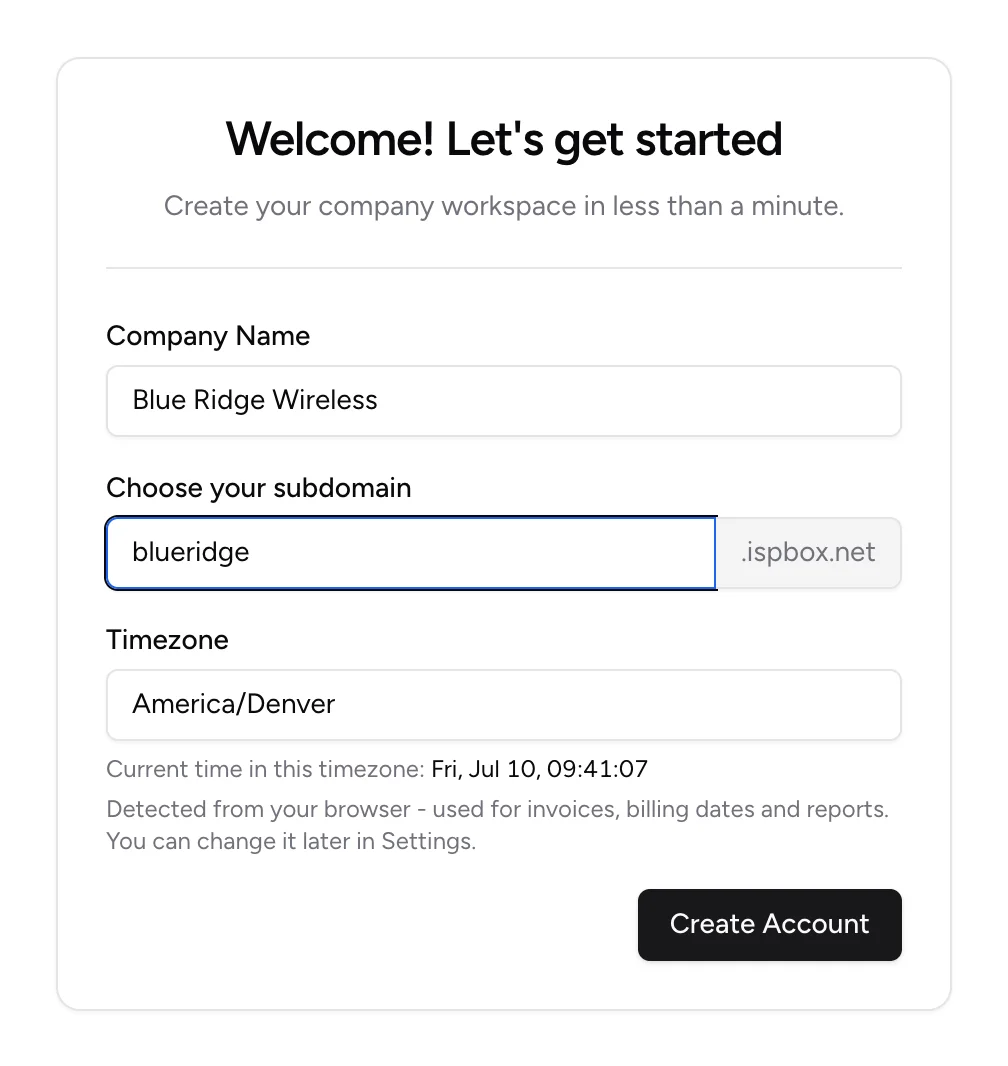
Click Create Account. ISPBox creates the workspace and redirects you to your new panel address.
4. Step 3 - Log in at your new address
For security you are asked to log in again, this time on your own subdomain. This is the address you should bookmark and share with your team.
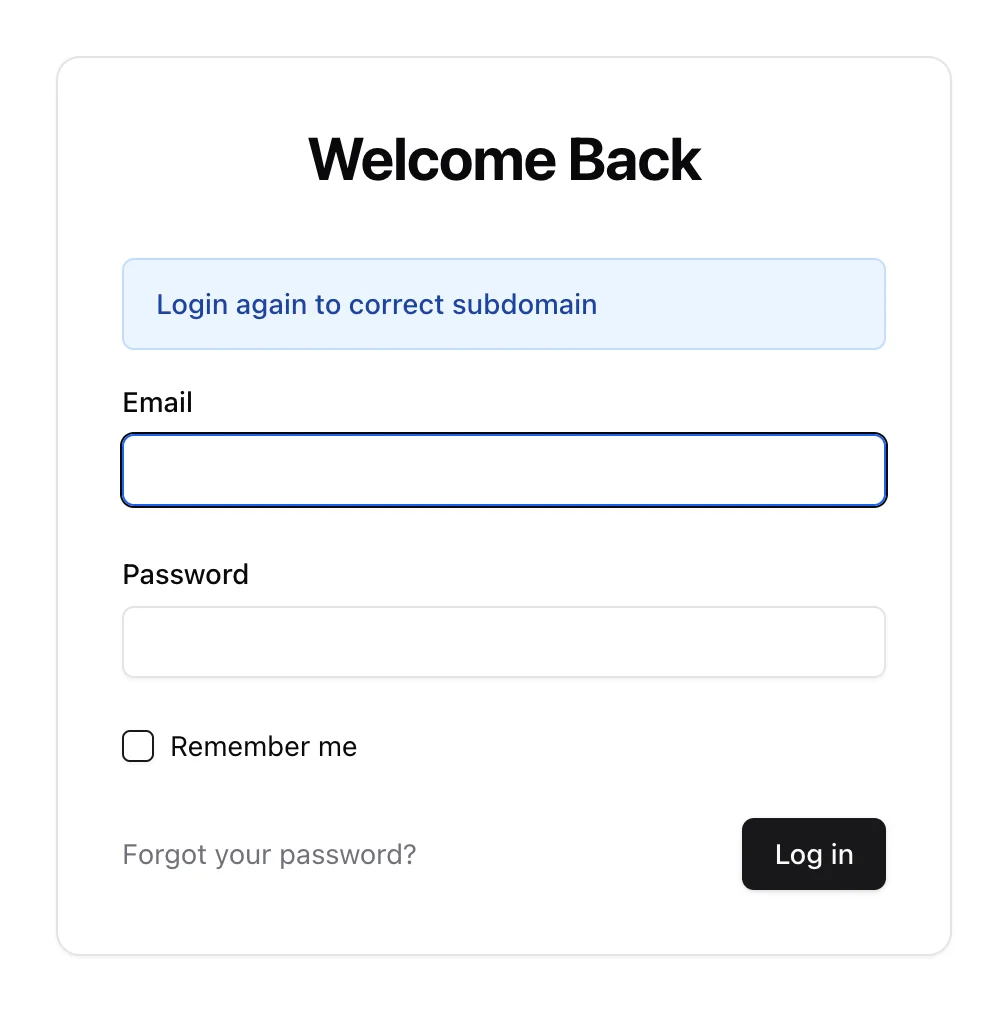
Use the same email and password you registered with.
5. Step 4 - Start your plan
On first login you land on the plan step. There is only one plan to consider - ISPBox, from $25 per month, priced per active subscriber with every module included - and new workspaces begin it with a 7-day free trial.
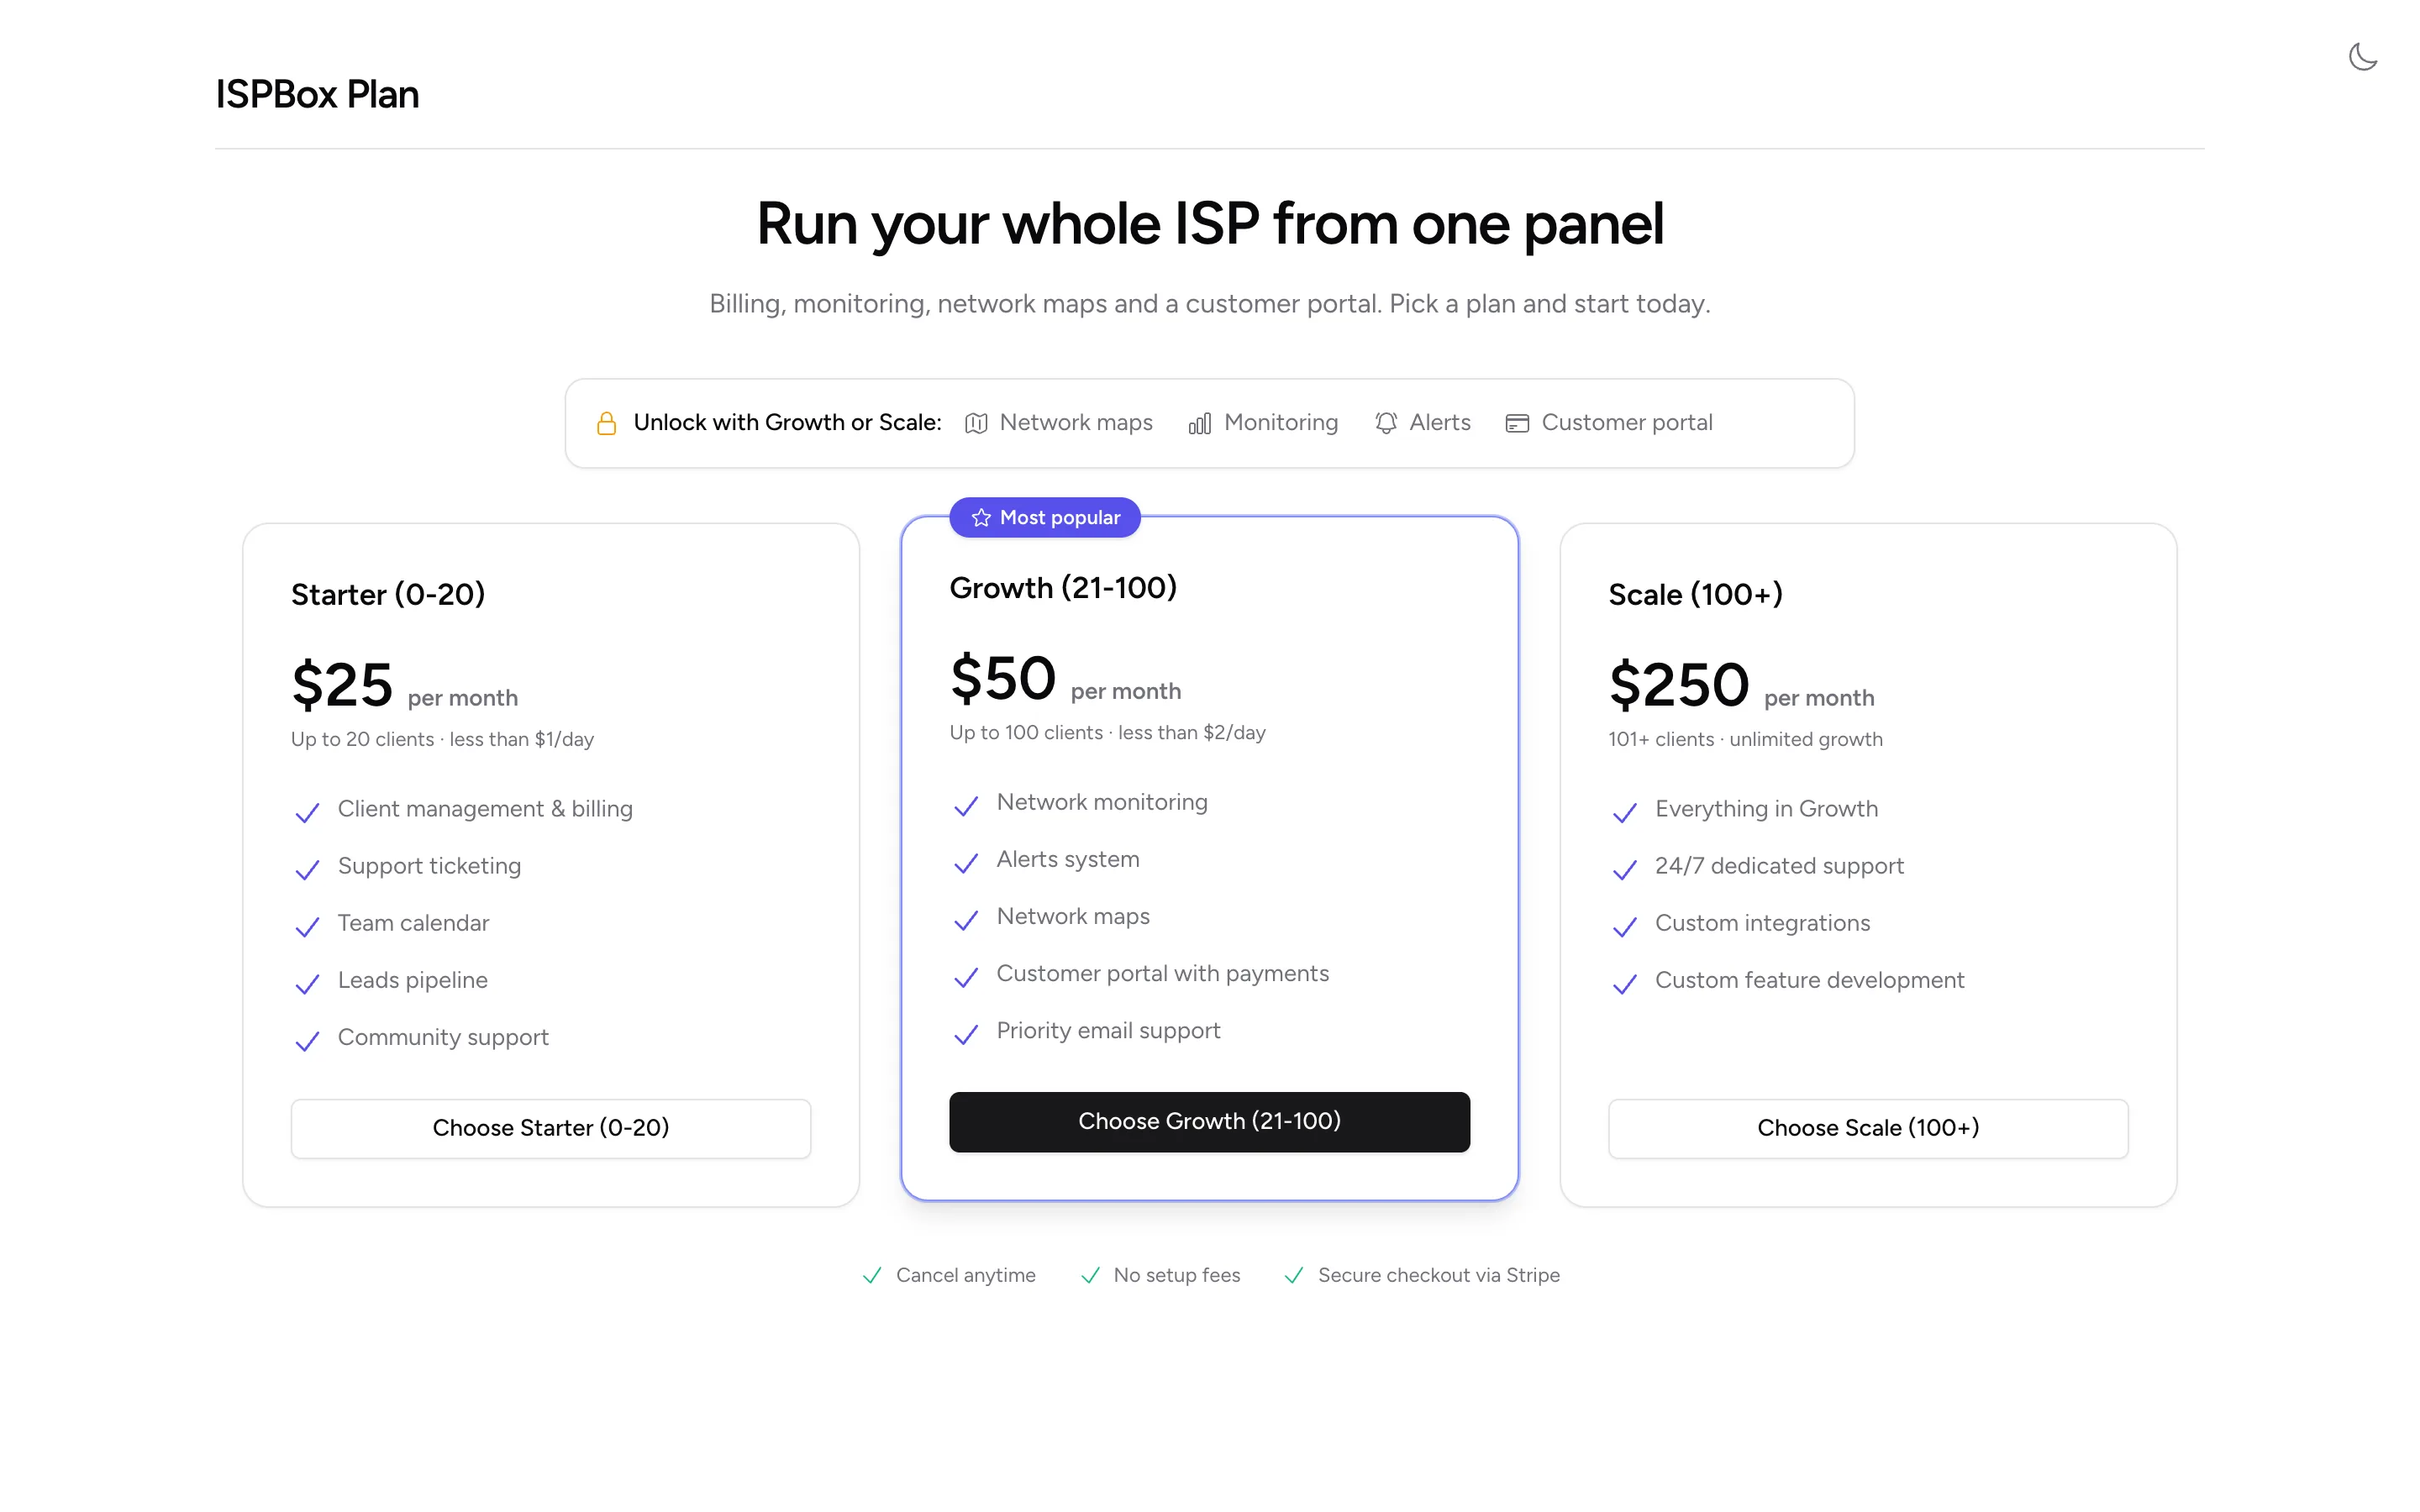
Click Start 7-day free trial and add a card in Stripe's secure checkout. Nothing is charged today, the page names the exact date of your first payment, and you can cancel before then and pay nothing. There are no setup fees. For the price tiers, what counts as a billable subscriber and how to reach the billing portal later, see Your ISPBox Plan.
6. Step 5 - Follow the "Get your ISP online" checklist
You land on the dashboard, which greets you with the "Get your ISP online" checklist (pictured at the top of this guide). It tracks your progress live and takes you from an empty panel to your first live, billable service:
- Add and provision a router - your MikroTik is the NAS that authenticates customers. Follow WireGuard + API or RADIUS authentication.
- Create a service package - the plan (speed and price) your services point at. See How to add the package.
- Add your first client - the customer record that services and invoices attach to. See How to add a new client.
- Create a billable service - link the client to a package on a router. See Add a service.
These four steps are covered in order in the Quick Start guide. For a deeper look at how the checklist tracks progress and what each step really requires, see Onboarding Checklist Explained.
7. What ISPBox creates for you automatically
Behind the scenes the wizard has already prepared:
- Roles and permissions - Admin, Staff and Technician roles are seeded, and your account is the Admin. Invite teammates in Settings > Users.
- A default location - packages, fees and reports can be scoped per location as you grow.
- A NAS group for RADIUS - routers you add later are registered here so customer authentication works out of the box.
8. Next steps
- Continue with the Quick Start: router, package, client and service.
- Set up outgoing email so invoices and notifications reach your clients: SMTP or Microsoft 365.
- Review your company details and invoice numbering: Company Settings and Invoice Settings.
Coming from another panel? ISPBox has importers for Splynx, UISP (Ubiquiti) and lead CSVs (see Data Imports), and we will migrate your existing clients for you - write to [email protected].