How to Add a Router with RADIUS Authentication (MikroTik)
Published Feb 07, 2026
/
Updated Feb 07, 2026
/
3 min read
This guide explains how to add a router in ISPBox using RADIUS auth (typically PPPoE).
Recommendation First
We recommend these two production setups:
- WireGuard + API (best automation)
- WireGuard + RADIUS (secure tunnel + RADIUS auth)
Use this Public IP + RADIUS method only when WireGuard is not yet available.
WireGuard setup guide: How to add a router with WireGuard + API (MikroTik)
Requirements
- Router must have a reachable public IP.
- If the router is behind NAT, still enter the real reachable public IP (the upstream/WAN public address that reaches this router).
- Public IP should be stable. If it changes often, use WireGuard instead.
- You must configure the same RADIUS shared secret on both sides (ISPBox and MikroTik).
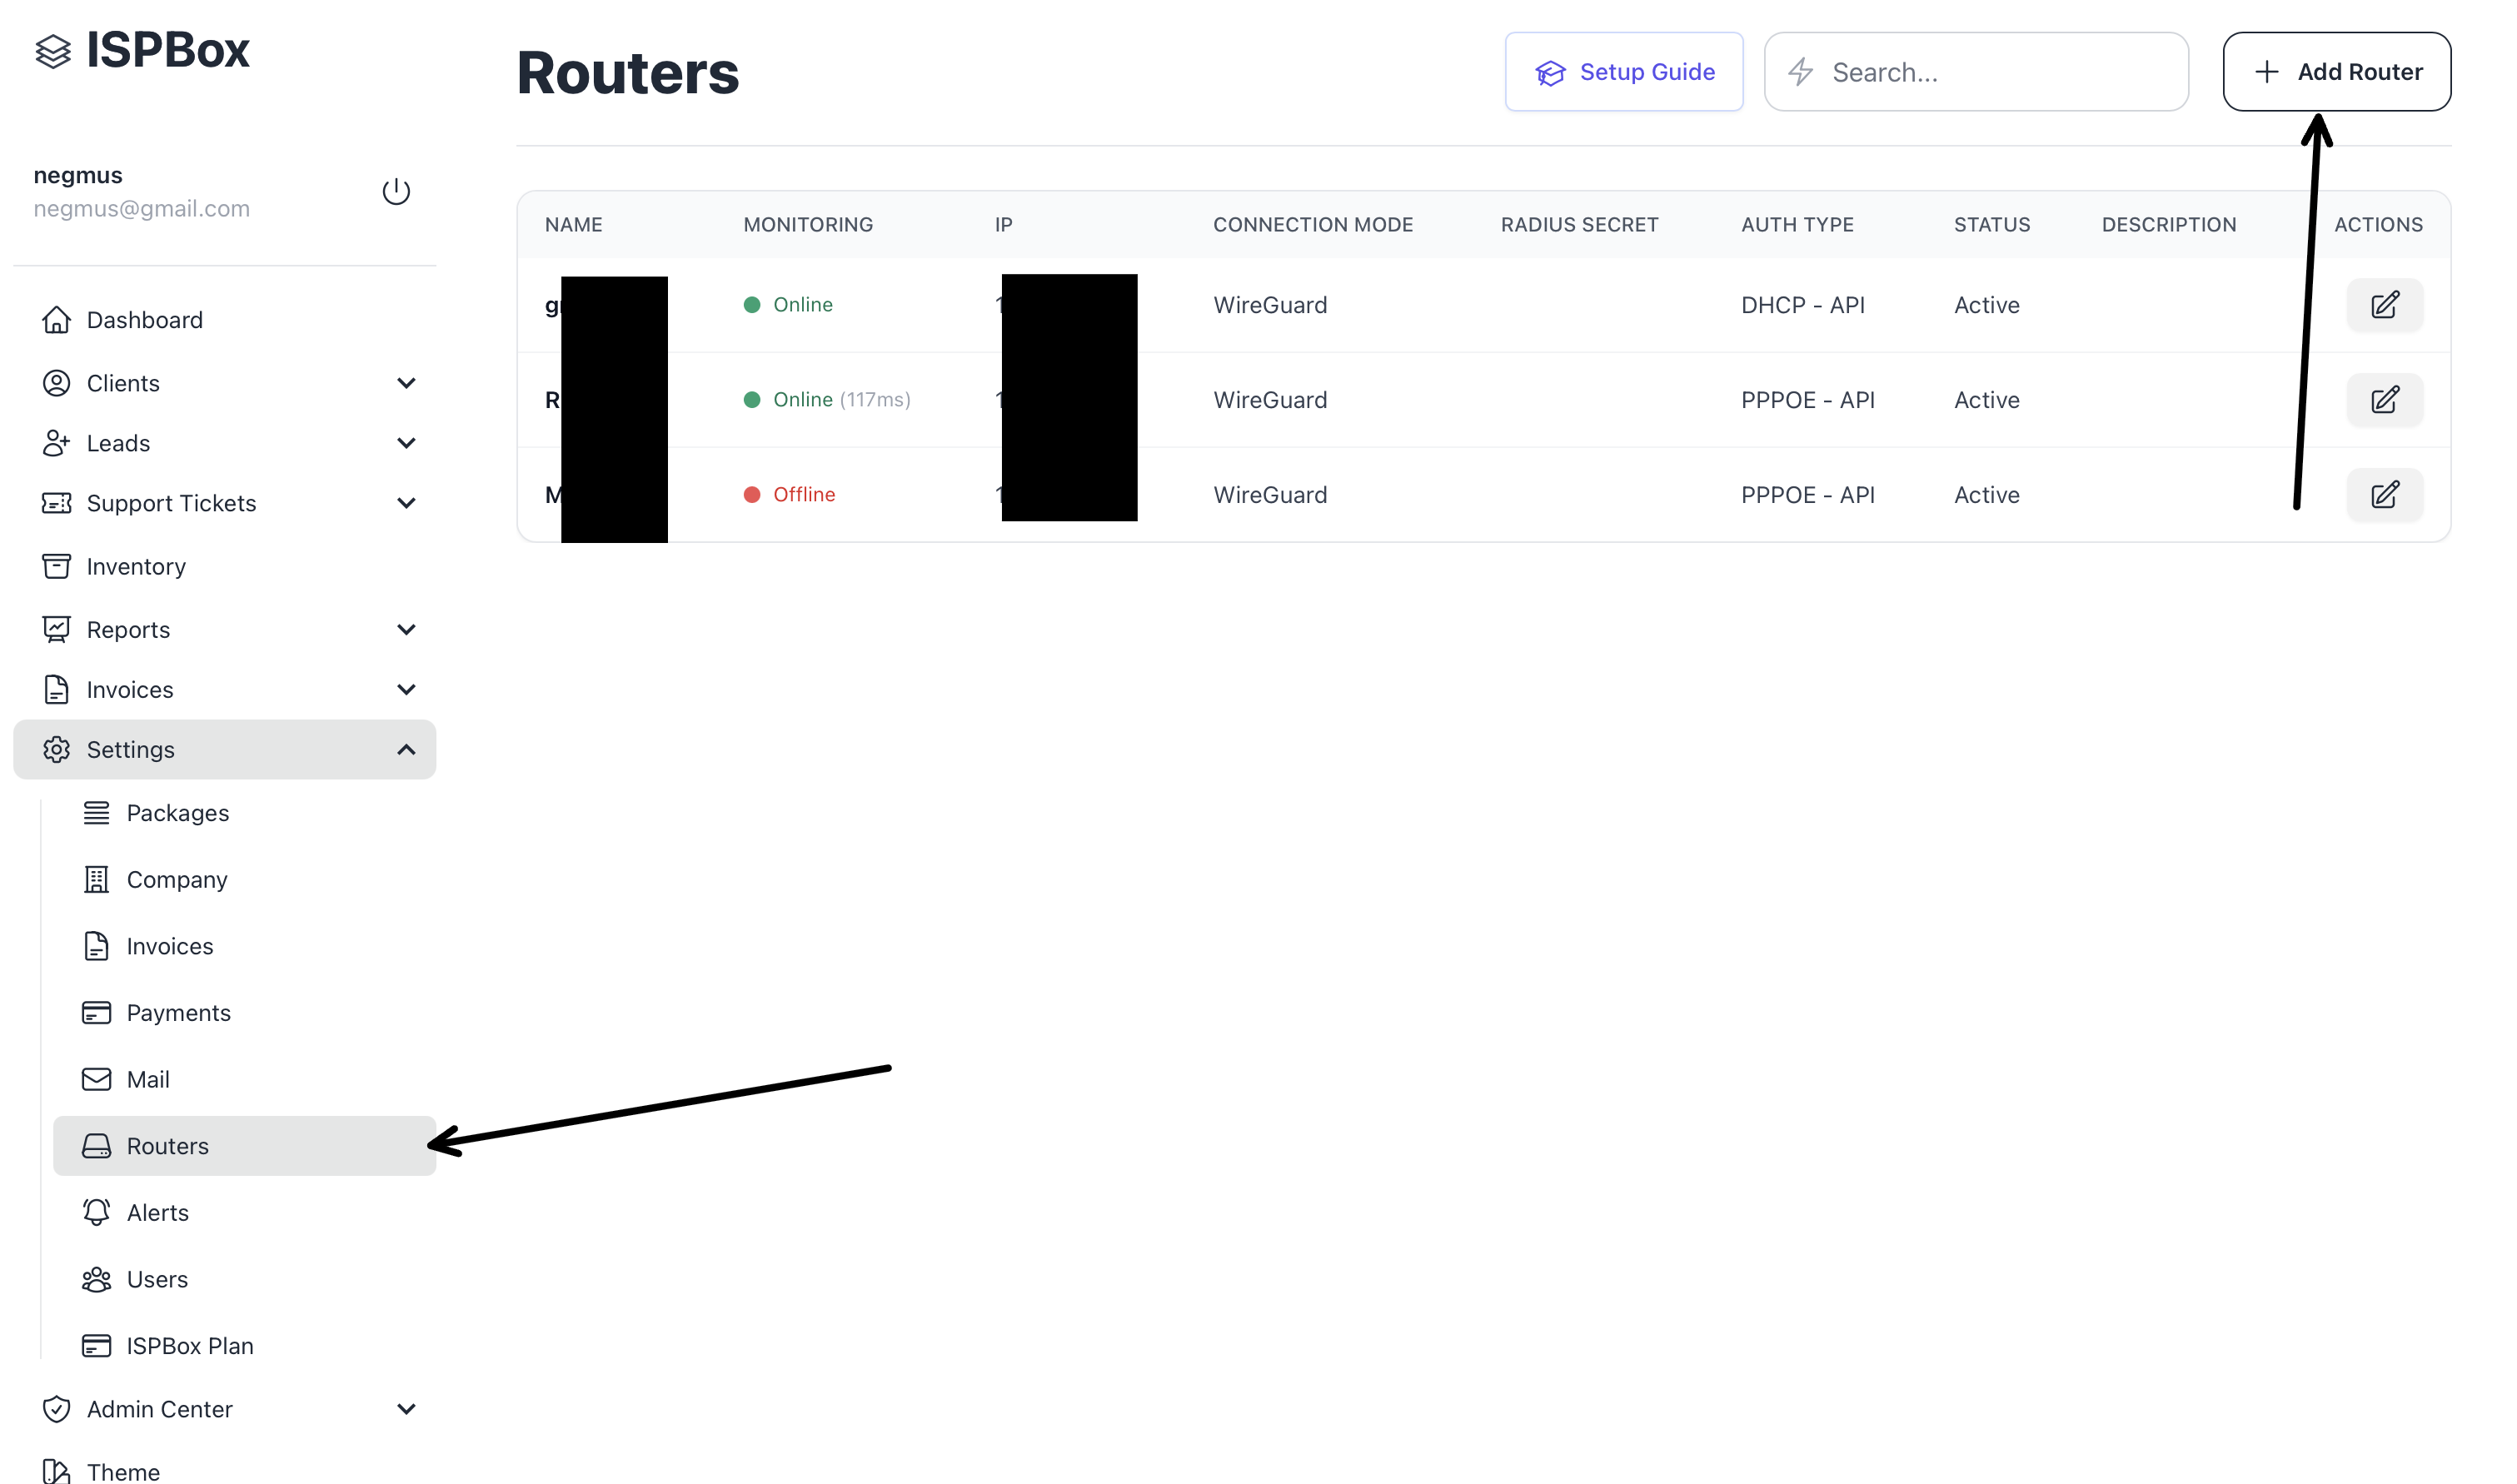
Step 1: Open the Router Form
- Go to Settings -> Routers.
- Click Add Router.
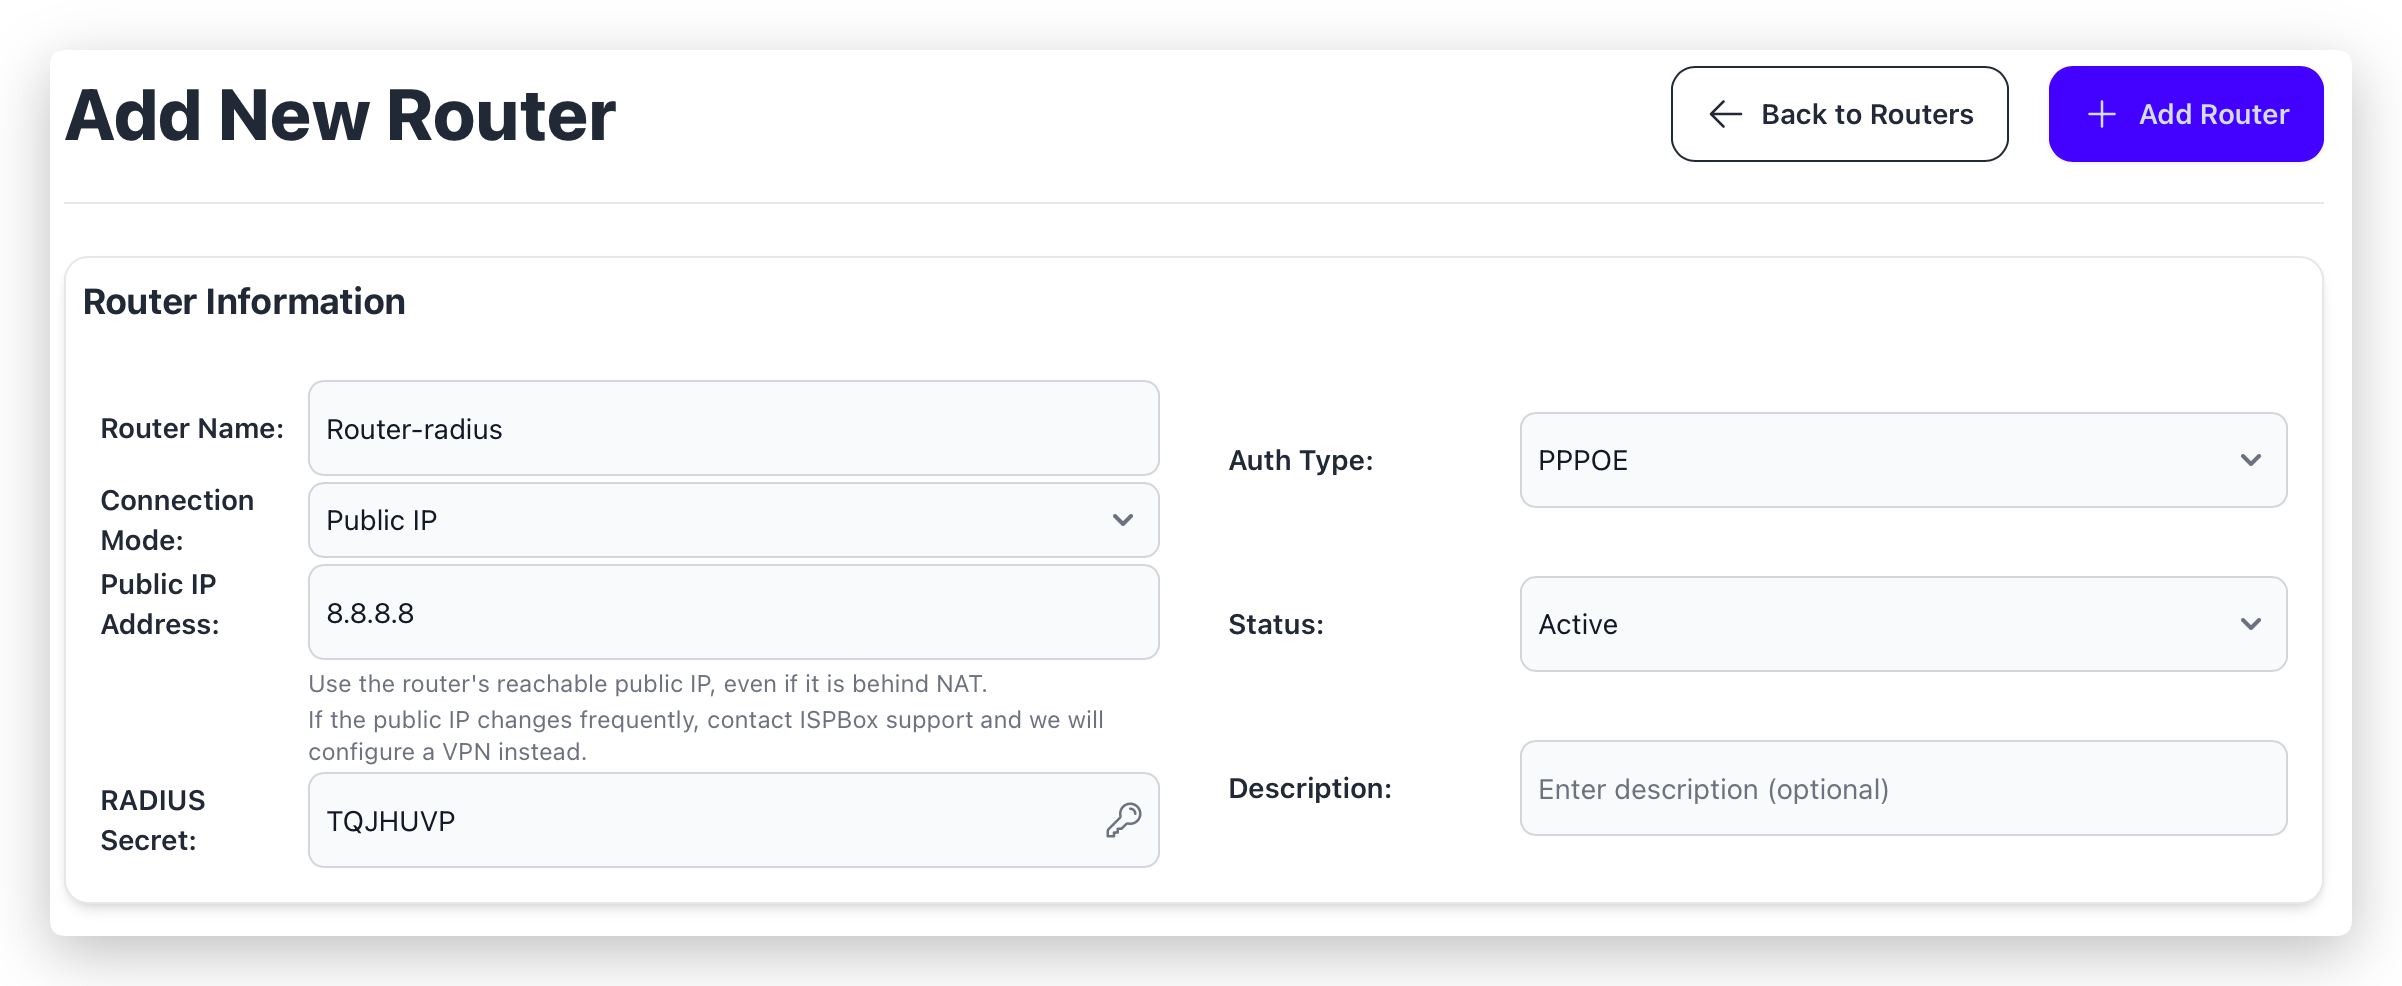
Step 2: Fill Router Information (RADIUS)
Set fields like this:
- Router Name: your internal label (example: Router-radius)
- Connection Mode: Public IP
- Public IP Address: reachable router public IP (even if router is behind NAT)
- Auth Type: PPPOE or DHCP (RADIUS flow)
- Status: Active
- RADIUS Secret: generated/shared secret (copy it, you will need it on MikroTik)
- Description: optional
Then click Add Router.
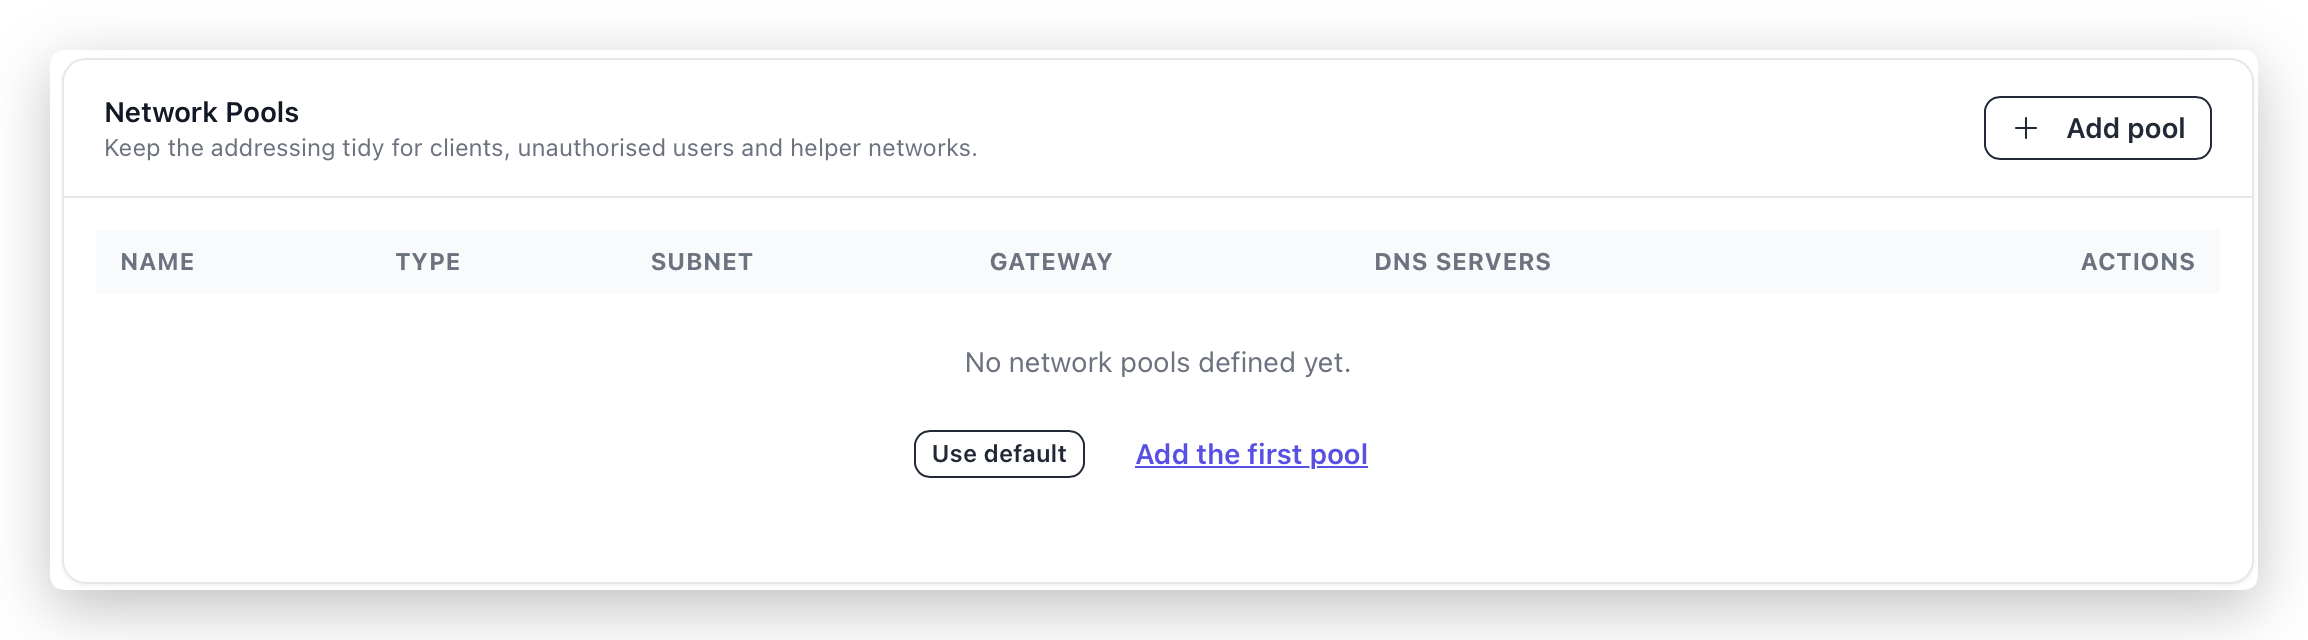
Step 3: Configure Network Pools
In Network Pools:
- Click Use default, or
- Click Add the first pool and define your PPPoE pool manually.
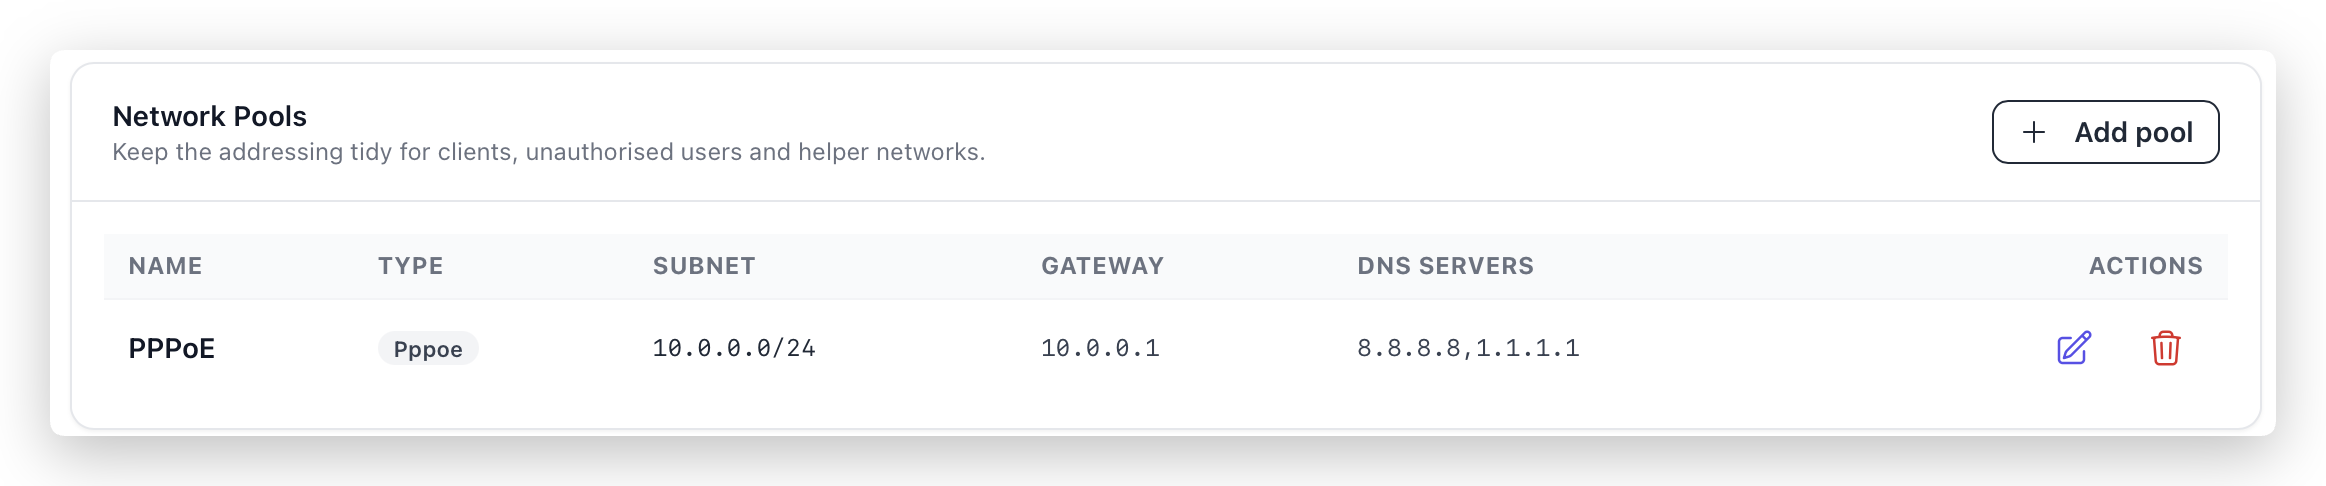
Typical PPPoE example:
- Name: PPPoE
- Type: Pppoe
- Subnet: 10.0.0.0/24
- Gateway: 10.0.0.1
- DNS: 8.8.8.8, 1.1.1.1
Step 4: Configure MikroTik RADIUS Side (WinBox)
Step 4.1: Open RADIUS settings
- Open WinBox and connect to your MikroTik.
- In the left menu, go to RADIUS.
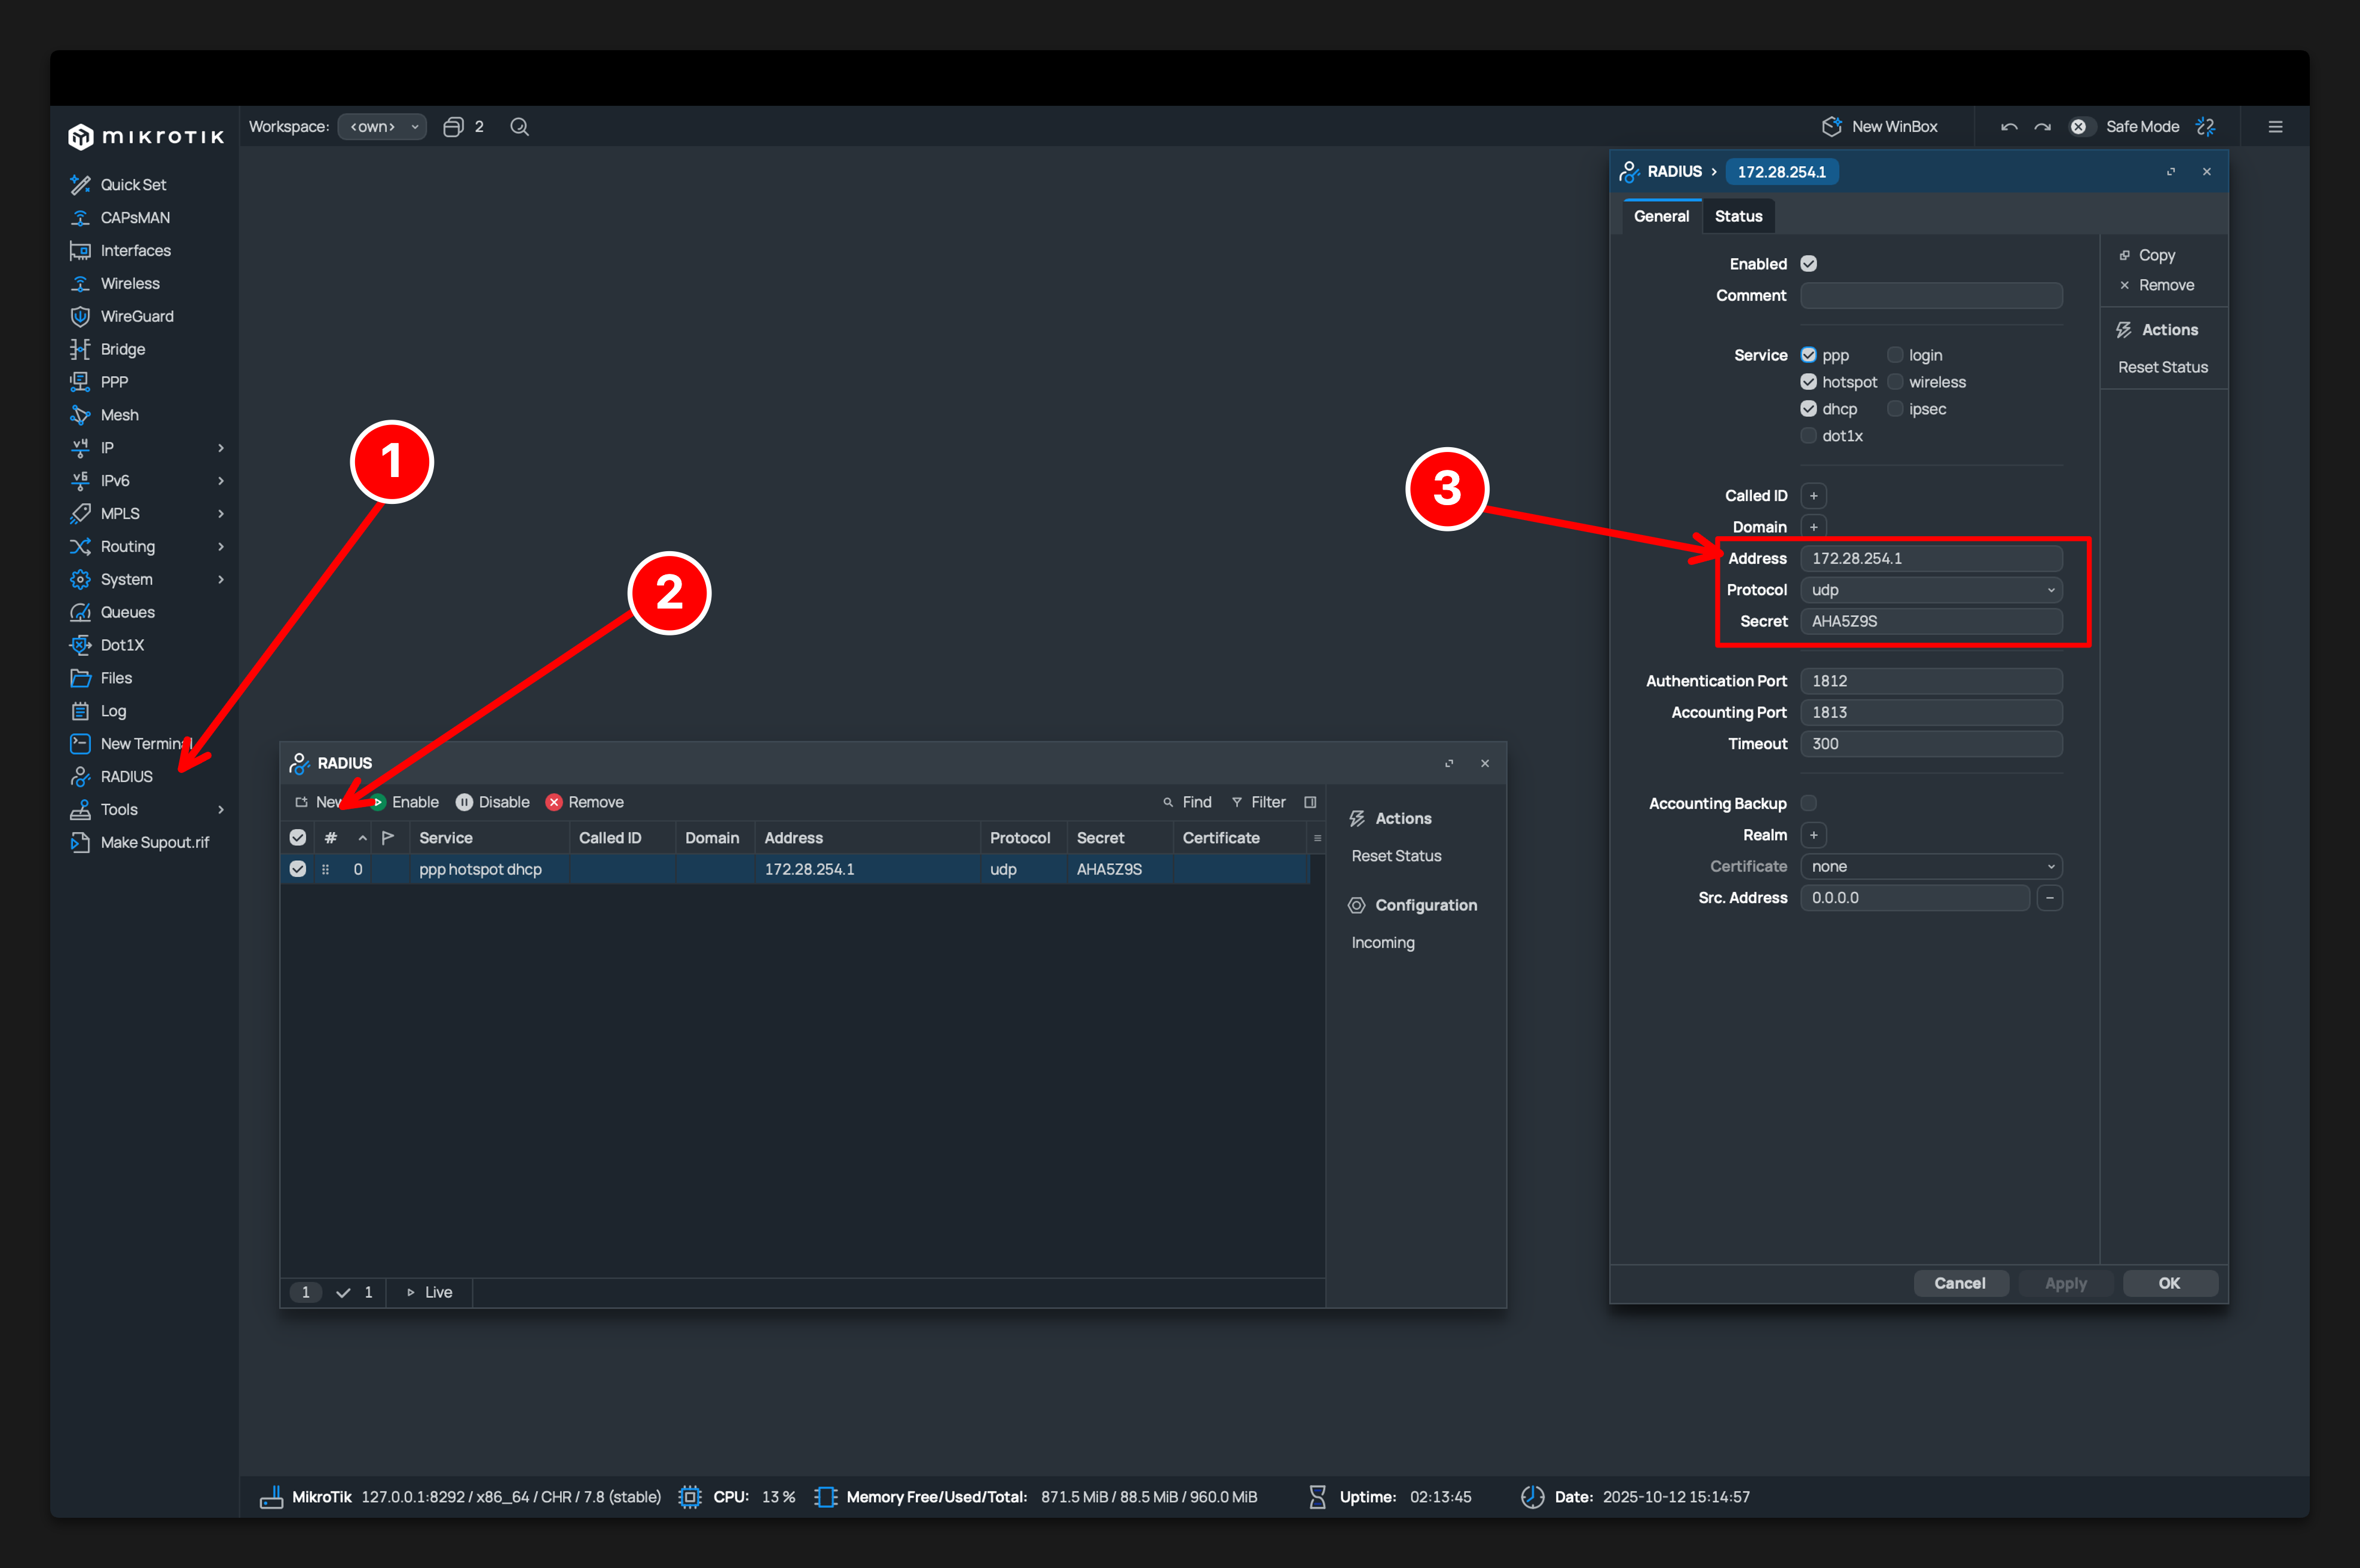
Step 4.2: Add a new RADIUS server
- Click + to create a new entry.
- Configure fields:
-
Service: select what you use (ppp, dhcp, hotspot, or wireless).
-
Address:
- 172.28.254.1 for WireGuard mode.
- 91.98.168.123 for Public IP mode.
-
Protocol: udp
-
Secret: use exactly the same RADIUS Secret as in ISPBox.
-
Authentication Port: 1812
-
Accounting Port: 1813
-
Timeout: 3000 ms
-
Src. Address (important):
- If MikroTik does not have a public IP directly on its interfaces (router behind NAT), add your public IP as /32 on an interface and set that IP as Src. Address.
- Without correct Src. Address, ISPBox may not identify the router correctly.
Notes:
- WireGuard (recommended): prefer WireGuard transport for RADIUS traffic.
- Public IP mode: if no public IP exists on MikroTik interfaces, Src. Address is required.
Step 4.3: Save and verify
- Click Apply and OK.
- Make sure firewall/routing allows RADIUS traffic to ISPBox (UDP 1812/1813).
Step 5: Verify It Works
In Settings -> Routers check:
- Router appears in the list.
- Monitoring = Online.
- Correct Public IP, Auth Type, and RADIUS Secret are shown.
If it is Offline or auth fails:
- Re-check reachable public IP.
- Re-check NAT/port forwarding/firewall path.
- Re-check RADIUS secret match.
- Confirm MikroTik is actually using RADIUS for PPP auth.

If You Want WireGuard + RADIUS (Recommended)
- Build WireGuard first using this guide:
How to add a router with WireGuard + API (MikroTik) - Then configure router auth as RADIUS in ISPBox for PPPoE flow.


